
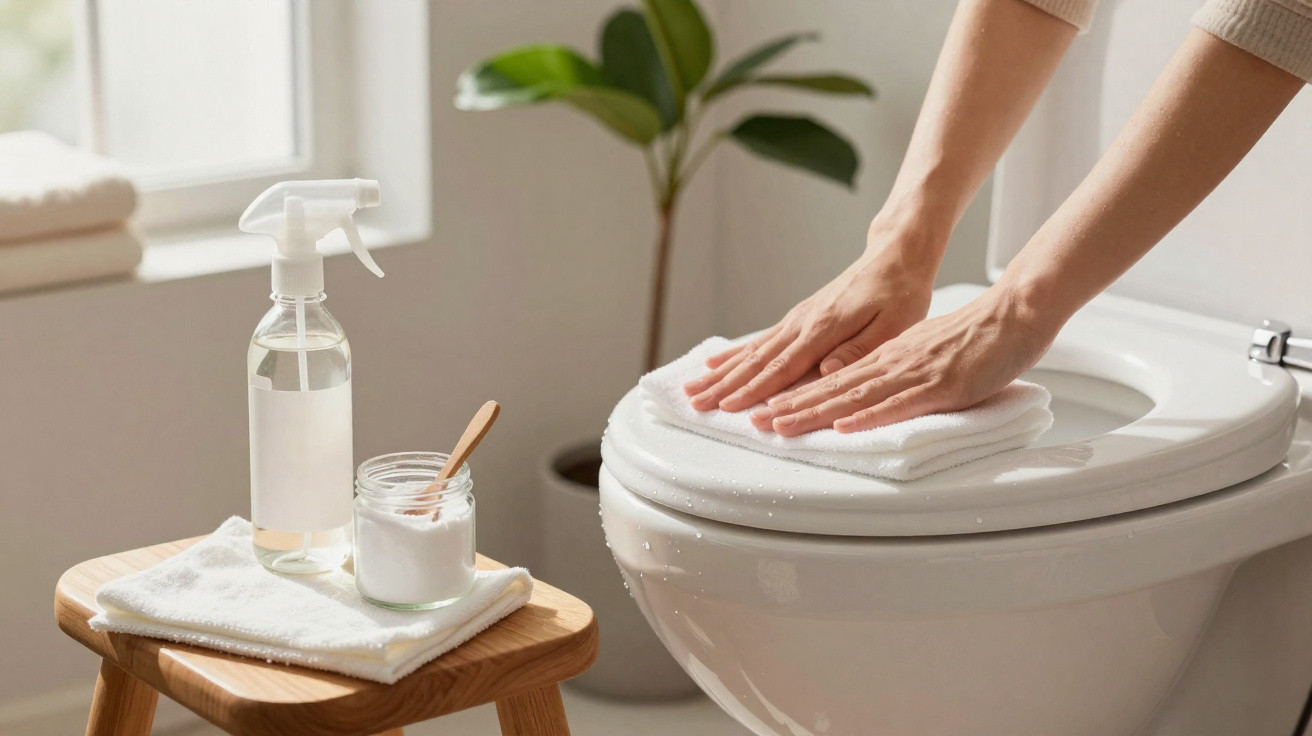
That grey halo on the toilet lid you have been trying not to notice is not there for good. Two everyday supermarket staples can remove it within minutes, with no harsh fumes, fuss or expensive gadget. The method predates most trigger sprays, and even seasoned cleaners still enjoy seeing it take effect.
The lid had the weary look of porcelain with a long history, despite being plastic. There was a pale ring where disinfectant had met hard water, plus a faint patch beneath the hinges that resembled the trace of a sticker removed years ago. I had previously poured bleach over it without making any difference. The marks simply remained, looking rather pleased with themselves.
At the hardware shop, a retired man looking through drain snakes heard me mutter, “new seat?” He laughed and said, “Vinegar and bicarb. You’ll be fine.” He explained it as though passing on a recipe endorsed by someone’s grandmother. I went home and gave it a go without expecting much. Ten minutes later, with a dripping sponge in hand, I was genuinely smiling at a toilet lid. The plastic looked lighter, smoother and far less worn out.
The lid looked new.
Two low-cost cleaning favourites professionals quietly rate
The straightforward answer is that most supposedly “permanent” marks on toilet lids are not permanent at all. They are usually limescale, soap residue and colour deposits caught on a subtly textured surface. White vinegar breaks through the mineral layer, while baking soda shifts the remaining grime with gentle abrasion and a light fizz. There is no need for heavy-duty gloves or eye-watering vapour: just a little kitchen chemistry.
Seen at close range, it can feel almost dramatic. The vinegar loosens the crust much as lemon lifts a tea stain; the baking soda then foams softly and helps wash away the dirt. The lid’s fine texture no longer behaves like flypaper. Lines look cleaner, the sheen returns and the smell disappears. The entire seat feels less tacky, which is a modest but genuinely pleasing result.
In a rented Manchester flat I visited, the seat had grey half-moons at the rear, a familiar sign of hard water. We sprayed on warm white vinegar, let a three-song playlist play through, then scattered baking soda over it and worked it with a soft sponge. The foam barely hissed. The grey residue came away in cloudy streaks. An old toothbrush drew out a brown line beneath the hinges that you would not have believed was hiding there. The cost was under £2 for both products, leaving plenty for another clean.
Its effectiveness comes down to pH and patience. Limescale and alkaline deposits grip surfaces tightly, but vinegar’s acidity weakens that hold. Baking soda provides enough mild abrasion to clean without leaving scratches that would give grime even more places to settle. Their reaction does not “deep clean” through magic; it merely helps water rinse away residue that has already been loosened. This is why contact time is important. Let the vinegar work before starting to scrub. On plastic lids, the combination hits a useful balance: powerful enough for buildup but mild enough to preserve the finish.
Certain marks need a little more effort. Hair-dye drips, blue toilet-block splashes and unexplained traces from old products may have penetrated further. Vinegar and baking soda still offer excellent value, although stubborn spots may require a second treatment or a melamine sponge. Treat the vinegar as the first step, the bicarb as the finishing team, and judge the result with your own eyes. If one round makes it look 80% better, you are heading in the right direction.
How to clean a toilet lid like a seasoned professional
Begin with a dry lid. Gently warm the white vinegar until it is hot from the tap, rather than boiling. Spray or wipe it over the full lid, on both sides, including the hinge area. Leave it for 10–15 minutes while you put on a podcast. Sprinkle baking soda over the damp surface, where it will fizz lightly. Use a soft sponge or microfibre cloth to rub in small circular movements. Take an old toothbrush to the hinge and seam. Rinse with warm water, dry it fully, then stand back and admire the renewed shine.
Everyone has cleaned in a hurry, then wondered why the surface still looks unchanged. Common mistakes include scrubbing before the vinegar has had time to work, using an abrasive pad that scratches, failing to dry the lid and allowing water marks to return, or combining products that should never meet. Vinegar and bleach are not compatible, so keep them well apart. For wooden or coated-wood seats, take a milder approach: use gentle washing-up liquid first, followed only by a short vinegar application on individual stains. Realistically, nobody does this every day.
Professionals put it simply: allow the chemistry to do the main work, then use the cloth to complete the final 10%.
“People think it’s elbow grease,” said a housekeeper I shadowed in Leeds. “It’s really contact time. The scrub just finishes the story.”
- For plastic/duroplast: vinegar + baking soda is your core combo.
- For dyed stains: dab 3% hydrogen peroxide, wait 5–10 minutes, then wipe.
- For shine: a final wipe with a dry microfibre cloth prevents new spots.
- For hinges: wrap a vinegar-damp cotton pad around the base for 10 minutes, then brush.
- Avoid: steel wool, bleach mixes, and soaking wood seats in acid.
The quick clean that transforms the whole bathroom
It is almost ridiculous how satisfying a bright toilet lid can be. It alters the feel of the bathroom in much the same way as opening a window. Guests notice less, and you feel more at ease. The task takes ten, perhaps fifteen minutes, yet the improvement feels far greater than the effort involved. That is the appeal of basic tools paired with a little patience.
Think of it as a reset rather than a routine. It might be part of your Sunday reset, or something you do before the in-laws visit. There is no need for a trolley packed with specialist sprays: a bottle of white vinegar and a box of baking soda cost roughly the same as a sandwich. Small wins have a way of stacking up. The lid today, the taps tomorrow, then the mirror that never seems completely streak-free. Cleaning one small area makes it easier to tackle the next.
If a mark does not disappear immediately, repeat the treatment or use a focused application of hydrogen peroxide on a cotton pad. Most stains give way a little at first. If those grey crescents have been there so long that you no longer remember how the lid looked when new, a quiet pleasure may be waiting. Clean isn’t fancy. It is simply clear. This time, it is inexpensive too.
| Key point | Detail | Benefit for the reader |
|---|---|---|
| Vinegar softens buildup | Acid dissolves limescale and alkaline film in 10–15 minutes | Faster results with less scrubbing |
| Baking soda lifts safely | Mild abrasive and deodoriser that will not scratch plastic | Restores gloss without damage |
| Right tools, right places | Soft sponge for surfaces, toothbrush for hinges, dry finish | Professional finish on a tiny budget |
FAQ
- Will vinegar damage my toilet seat? It is safe for most plastic and duroplast seats when used briefly and rinsed away. For wood or coated wood, start with mild soap and use vinegar on stains only for short periods.
- Can I mix vinegar with bleach to speed things up? No. Combining acids and bleach produces dangerous gases. Keep vinegar and bleach well apart, and never use them during the same cleaning session on the same surface.
- How do I deal with a lingering urine odour? Clean the lid and hinges using vinegar, then wipe with warm water mixed with a teaspoon of baking soda. Dry thoroughly. Odours often collect underneath the hinges, so spend an extra minute there.
- What about blue toilet-block marks or hair-dye splashes? Hold 3% hydrogen peroxide on the area with a cotton pad for 5–10 minutes, then wipe and rinse. A melamine sponge may help on glossy plastic if used gently.
- How often should I do this? A quick weekly vinegar spray and wipe helps stop buildup returning. For most homes, a more thorough vinegar-and-bicarb clean every two to four weeks is enough.
Comments
No comments yet. Be the first to comment!
Leave a Comment