
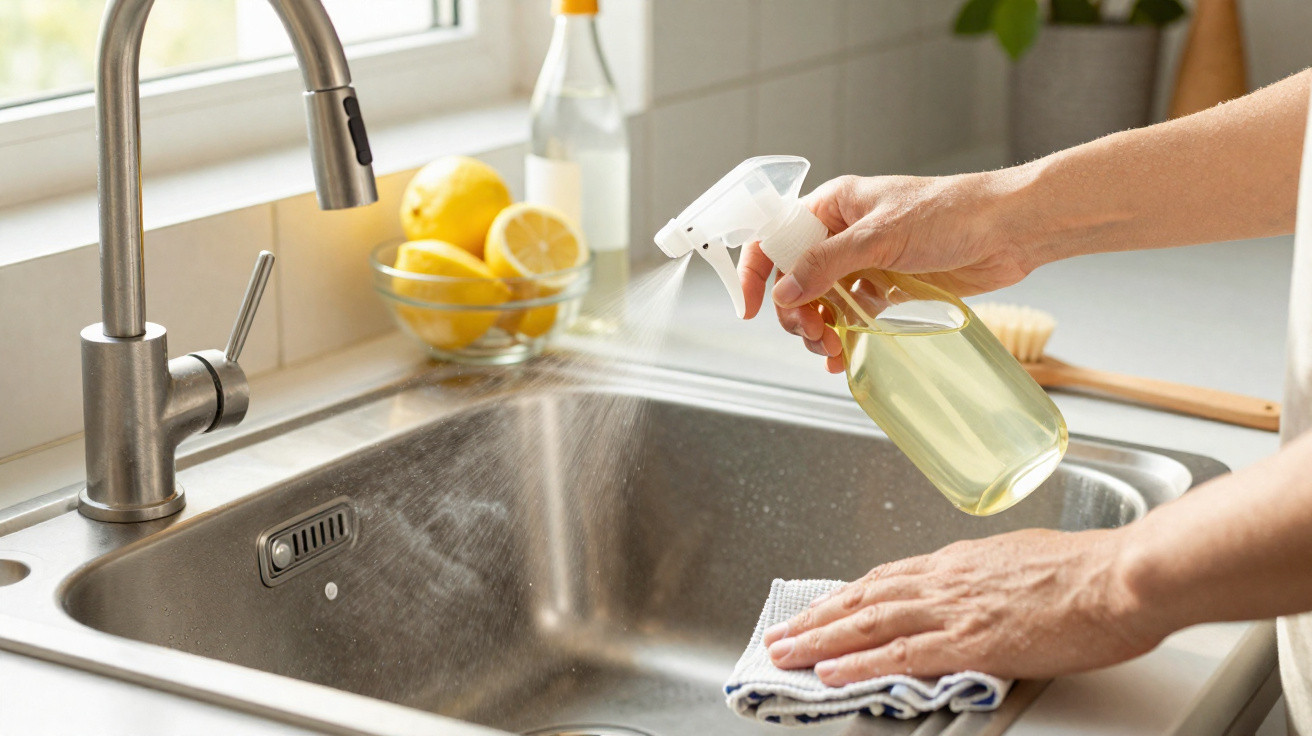
Stubborn limescale rings around the kitchen sink are irritating, make the whole space look grubby, and often feel impossible to shift.
Yet a simple homemade blend cuts through them without mercy.
Limescale deposits on taps and in the sink are a constant nuisance in many homes. Costly specialist cleaners, that sharp chemical smell, endless scrubbing - it quickly becomes tiresome. The truth is, many grandmothers already had a straightforward answer that doesn’t require elbow grease or harsh chemicals: a warm, freshly mixed solution made from everyday kitchen ingredients that effectively eats away at limescale.
Why limescale is so stubborn in the kitchen
The root cause is in the mains water. In many areas it carries high levels of dissolved minerals such as calcium and magnesium. These substances aren’t harmful, but they readily settle on surfaces.
When water runs over stainless steel, ceramic or chrome taps, the liquid evaporates and leaves behind a thin mineral residue. With every rinse-up, every blast of hot water from the kitchen tap, every puff of steam, that layer builds a little more - until the familiar white, rough crust appears.
"The hotter the water, the faster the minerals crystallise and form hard limescale layers."
The worst areas are wherever water tends to sit:
- The join between the tap and the sink
- Edges around the plughole
- Grout lines and tiny gaps along the rim
- The tap aerator
Many people then reach for powerful chemical descalers. They do dissolve limescale, but they come with several drawbacks: a pungent odour, irritation to skin and airways, and the need for gloves and good ventilation. Some products can even damage delicate finishes such as copper, brushed metals or thin coatings.
On top of that, the chemical mix ends up in the wastewater. If you want a clean kitchen without placing unnecessary strain on your health or the environment, a gentler - but smart - alternative is often the better choice.
The home remedy mix of vinegar and lemon
The blend many grandmothers swore by uses three things most people already have at home: white vinegar, water and fresh lemon. There’s nothing mystical about it - it’s basic chemistry.
White vinegar contains acetic acid, while lemon provides citric acid. Both acids attack the alkaline minerals in limescale and loosen the bond to the surface. Used together, they tend to be more effective than relying on just one of them.
How to mix the limescale remover correctly
For a standard quantity that’s enough for a sink and tap, do the following:
- Pour 250 ml of white vinegar and 250 ml of water into a heatproof container.
- Squeeze the juice of one medium, fresh lemon and add it.
- Stir briefly so everything combines well.
- Warm the mixture in the microwave for about 30 seconds, until it’s clearly warm but not boiling.
- Decant into an empty spray bottle.
Heating isn’t a minor detail - it genuinely boosts performance. When warm, the acid molecules move faster and penetrate the limescale structure more effectively. The deposit lifts more easily and more evenly.
Using it on the kitchen sink: step by step
Before you start, remove any obvious dirt. Vinegar and lemon work directly on limescale, not on grease or food crumbs.
Preparing the surface
- Wipe the sink and tap with a damp cloth to remove food residue.
- Clear away loose crumbs around the plughole.
- Quickly dry the surface with a cloth so the acid mix isn’t immediately diluted.
Spray, leave, wipe
Now for the grandmother’s trick:
- Spray the warm mixture generously onto all limescaled areas, including small gaps and grout lines.
- Leave it to work for at least 20 minutes - don’t wipe too soon.
- After the waiting time, wipe the surfaces with a damp microfibre cloth.
"After about 20 minutes, even stubborn limescale can usually be wiped away with hardly any effort."
For tight spots - such as the join between the tap and sink or the aerator - an old, soft toothbrush is ideal. It gets into crevices without scratching the finish.
Finally, rinse everything thoroughly with clean water. Acid residue shouldn’t be left sitting on metal or ceramic for long periods, otherwise slight etching can occur. Then dry the surfaces carefully - ideally with a clean tea towel or a dry microfibre cloth.
Why drying makes such a difference
After cleaning, many people simply leave the sink to air-dry. That’s exactly when the next limescale film starts: every droplet that evaporates leaves minerals behind again.
If you quickly wipe down with a cloth after washing up or cleaning, you’ll stay limescale-free for much longer. Shiny finishes such as stainless steel or chrome taps in particular look visibly cleaner for longer.
Regular maintenance instead of emergency cleaning
The homemade vinegar-and-lemon mixture isn’t only useful as a rescue remedy for thick crusts. It works best in day-to-day life when you use it routinely.
- Spray on once a week
- Leave for a few minutes (for light build-up, 10 minutes is often enough)
- Rinse, dry - done
Used this way, it stops a hard layer forming in the first place. Over time it saves a lot of effort and frustration because heavy scrubbing is largely unnecessary.
Does the trick work elsewhere around the home?
This mix is handy in plenty of other places where limescale is an issue, for example:
- Limescaled shower heads (unscrew and soak in the warm solution)
- Limescale rings on stainless steel sinks
- Light deposits on tiles around the sink
- Limescale marks inside glass carafes or vases
Be careful with sensitive natural stones such as marble or limestone. Acid can damage these surfaces. Either test the mix on an inconspicuous area first or choose a different method.
When limescale is an issue all over the house
If you notice hard water in many places - in the kettle, on the shower screen, in the toilet - it may be worth considering a water filter or a water softener system. These reduce the amount of calcium and magnesium in mains water, helping to protect pipes, appliances and taps.
Even with softened water, basic upkeep is still needed. Softer water can leave marks too - just more slowly. A quick weekly use of the grandmother’s mixture helps keep kitchens and bathrooms looking their best.
Health, cost, environment: why the homemade mix wins
Compared with many ready-made products, the vinegar-and-lemon mix has several clear advantages:
| Aspect | Home remedy mixture | Chemical descaler |
|---|---|---|
| Ingredients | Vinegar, lemon, water | Often aggressive acids and additives |
| Smell | Brief vinegar note, then a lemon scent | Frequently sharp and irritating |
| Surface protection | Gentle when used correctly | Can attack coatings |
| Cost | Very low; ingredients are inexpensive | Significantly more expensive per use |
| Environmental impact | Readily biodegradable | More chemical residues in wastewater |
For families with children or pets, avoiding strong chemicals can feel reassuring. And if you’d rather not put on gloves every time you clean or throw the windows wide open, the homemade option is simply more pleasant.
Common practical questions
Can I use a different vinegar?
White household vinegar is best because it’s colourless and doesn’t contain extra flavourings or dyes. Apple cider vinegar generally works too, but on very light materials it can sometimes leave slight discolouration.
How strong should the vinegar be?
Typical household vinegar contains around 5 to 10% acid. Combined with water and lemon, that strength is sufficient. Concentrated vinegar essence should be diluted more heavily, otherwise you risk damaging sensitive surfaces.
What if the crust is extremely thick?
In that situation, extend the contact time and repeat the treatment. You can also lay kitchen paper soaked in the mixture over the affected area and leave it in place for 30 to 40 minutes. Then wipe again and rinse thoroughly.
An old tip with a modern result
The combination of vinegar, lemon and water draws on the know-how of earlier generations, yet it fits perfectly into modern life: fewer harsh chemicals, less packaging waste, lower cost - and still a visible result.
If you want to keep your kitchen limescale-free using simple ingredients, this home recipe is a strong ally. Once you’ve tried it, the first wipe often says it all: grandmother was right.
Comments
No comments yet. Be the first to comment!
Leave a Comment