
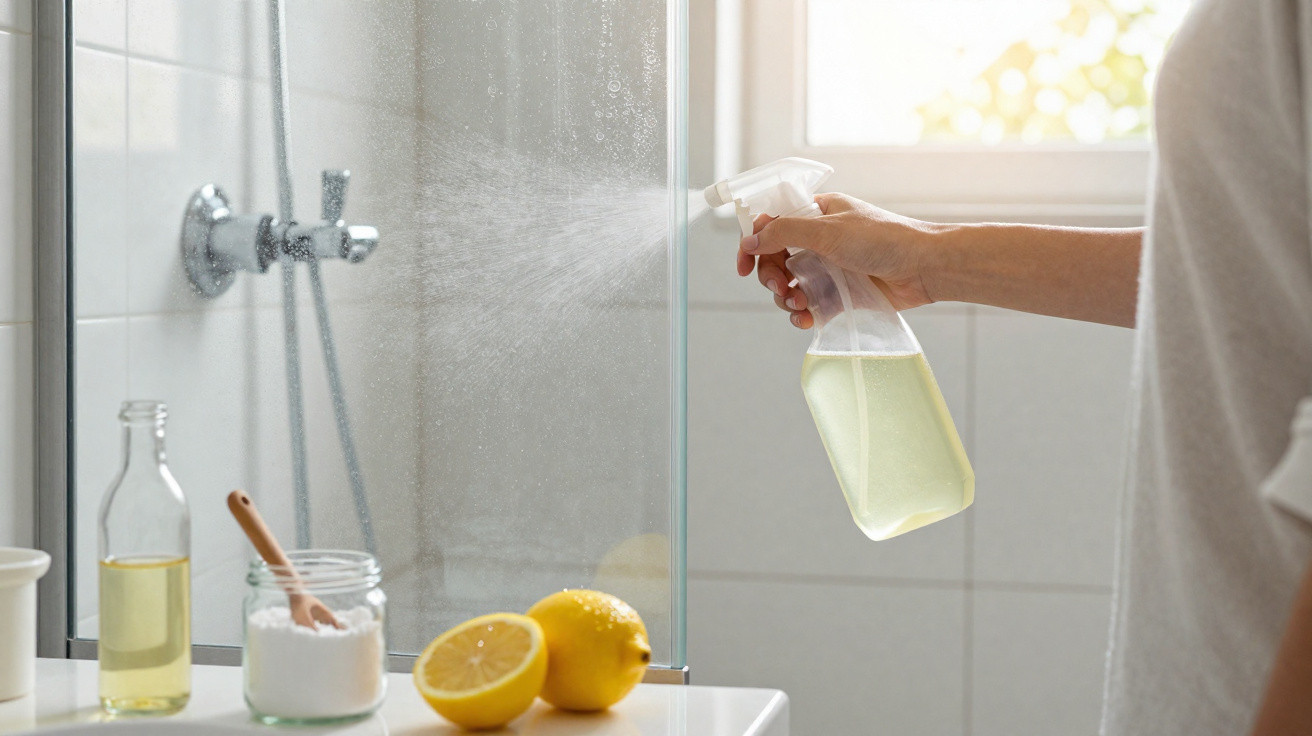
The bathroom light is utterly unforgiving. It was a Saturday morning, my coffee still half full, and I found myself scrubbing the same corner of the shower for the third time. Limescale, soap scum, old shampoo residue - a grey film that refused to be impressed. An expensive specialist cleaner sat beside me, almost empty, harsh-smelling, and delivering only mediocre results. I thought about the bathrooms I’d seen at friends’ houses: sometimes gleaming, sometimes just “fine”, sometimes clearly surrendered. And almost always the same excuse: “I just can’t keep up with it anymore.”
Then I noticed a single glass sitting on my kitchen worktop. Three ingredients I already had in the cupboard. Nothing fancy, nothing pricey. Two hours later, my shower screen looked as though someone had quietly replaced it. I haven’t been able to shake the idea since.
Why this three-ingredient home remedy makes such a difference
We all know that moment: you open the bathroom door and briefly wonder how the tiles have managed to look so dull again so quickly. You wipe here, scrub there, buy the “ultra power gel” from the adverts - and the grout still seems to smirk back at you. That’s exactly where this home remedy comes in. It doesn’t rely on promises; it relies on chemistry our grandparents were already using. Three everyday ingredients that tackle limescale, soap residue and light discolouration without making you feel as though you need a gas mask to clean the shower. It’s not about magic, but about a smart combination of acid, degreaser and gentle abrasion. Suddenly, it all adds up.
Here’s a real example. Lisa’s shower: two children, a full-time job, and a draughty period property. She’d long since stopped trying to get the once-white stone tiles properly clean. “I wipe over it - that’s all I can manage,” she told me. Then she tested the three-ingredient mix on a small area behind the shampoo rack. Leave it for ten minutes, a quick rub, rinse. That evening she sent me a photo: a neat rectangle that was visibly lighter against an otherwise tired-looking shower wall. No filter - just light and stone. Next time she cleaned, she did the whole bathroom the same way. She said it wasn’t “like new” perfect, but it was “finally presentable again”.
The logic behind the mixture is refreshingly straightforward. Limescale deposits react strongly to acid; soap scum contains fats; and that fine, stubborn haze on dull tiles often needs something that polishes very lightly without scratching. This home remedy brings those elements together: a mild acid, a kitchen-cupboard degreaser, and a softly abrasive powder. Let’s be honest - hardly anyone does a deep clean every day. But if you go over it properly once a month, it’s a completely different level of “I’ve still got this under control”. The feeling of “my bathroom is clean” is often down to a clever shortcut, not an hours-long cleaning marathon.
The recipe: three ingredients, one glass, a surprisingly big impact
The base couldn’t be much simpler: white vinegar, washing-up liquid, and bicarbonate of soda (or baking powder if you don’t have bicarbonate to hand). Put about two tablespoons of bicarbonate of soda into a glass or small bowl. Add roughly the same amount of washing-up liquid. You’re aiming for a thick, slightly creamy paste. Then bring in the vinegar - slowly, very slowly, because it will fizz. Stir until you have a spreadable mixture that isn’t too runny. Apply the paste directly to the affected tiles or grout with a soft sponge or cloth. Take a breath, don’t overthink it, and just get it on.
What matters is not rinsing it off immediately. Depending on how grimy things are, leave it to work for 5–15 minutes. During that time, the vinegar breaks down limescale, the washing-up liquid starts lifting the soap residue, and the bicarbonate helps with gentle abrasion. Then go back in with the sponge using circular movements and rinse thoroughly with warm water. A lot of people are shocked the first time by how smooth the surface feels afterwards. You only realise how dull the tiles were once the film is properly gone.
A few common pitfalls catch almost everyone out. Using rough sponges or scouring pads that can dull natural stone or scratch delicate tiles. Putting far too much pressure into one spot out of pure guilt. Or the classic mistake: apply the mix, give it a quick rub, rinse straight away - then feel disappointed that “nothing happened”. Bathroom cleaning is like cooking: time is an ingredient. One more thing: acid and sensitive natural stone (marble, travertine) are rarely friends. If you’re not sure, test a small, out-of-sight corner first - fingertip-sized, not right in the middle of your eyeline.
“When I finally understood that limescale doesn’t disappear through brute force, but through the right mixture, my whole attitude to cleaning changed,” a reader told me recently. “Before that, I just scrubbed harder and harder.”
- Vinegar dissolves limescale and mineral deposits that make stone look grey and flat.
- Bicarbonate of soda provides mild scrubbing power and helps neutralise odours in the bathroom.
- Washing-up liquid acts as a degreaser against soap residue and shampoo film.
- The paste clings better than liquid cleaners, which makes it ideal for vertical surfaces.
- Regular, short sessions help you avoid that “it’s hopeless” moment in the bathroom.
What this small ritual does to how we feel about the bathroom
A bathroom is more than tiles and grout lines. For many of us it’s the first room we step into in the morning - eyes half closed, head already full of to-dos. When your gaze catches on greyed-over stone or a ring around the basin edge, a quiet thought slips in: “I just can’t keep up.” This is where a simple three-ingredient home remedy can change more than you might expect at first glance. It eases the pressure a bit. It proves not everything has to be a major operation. And it can bring back a basic sense of: “Right. This is my space - and I’m on top of it.”
Maybe that’s the hidden appeal of recipes like this: they pull us out of consumer mode. Not another specialist spray, not a fifth bottle promising a “maximum anti-limescale formula”, but the things already sitting in the cupboard. Once you try it and see a dull surface reflect light again, it often changes how you look at other corners of the home, too. The kitchen tap. The tiles behind the bin. And sometimes it’s exactly that small win you need on a tightly organised, exhausting Tuesday evening.
Maybe you’ll pass the recipe on next time you’re having a coffee with someone. Maybe you’ll test it on one small patch with no big expectations. Or you turn it into a mini ritual of your own: once a month, put a podcast on, mix the paste, and “de-grey” the shower. Not a perfection project - more a quiet act of reclaiming. The bathroom won’t become a showroom. It just becomes a place where you can breathe for a moment, without feeling accused by your own tiles.
| Key point | Detail | Benefit for the reader |
|---|---|---|
| Three-ingredient recipe | Mix vinegar, washing-up liquid and bicarbonate of soda into a paste | A simple, low-cost alternative to specialist cleaners |
| How it works | Acid tackles limescale, degreaser breaks down soap scum, gentle abrasion polishes | Understanding instead of blind scrubbing, less frustration while cleaning |
| Application & timing | Apply, leave for 5–15 minutes, gently rub, rinse well | Better results with less effort, an easy-to-plan bathroom routine |
FAQ:
- Does the home remedy work on every bathroom surface? On glazed tiles, porcelain stoneware and many standard shower walls it usually works very well; on delicate natural stone always test first in an inconspicuous spot.
- Can the mixture damage grout? With normal use and a soft sponge, usually not - but aggressive scrubbing with hard pads can roughen grout.
- How often should I use the paste? For heavily soiled areas, every 2–4 weeks; for lightly marked surfaces, once a month is often enough.
- Will the bathroom smell strongly of vinegar afterwards? You’ll notice it at first, but it fades quickly after rinsing and ventilating; if you’re sensitive, use a mild cleaning vinegar.
- Can I use it on taps and fittings? Yes, but only leave it briefly and rinse promptly; test carefully on delicate coatings.


Comments
No comments yet. Be the first to comment!
Leave a Comment