
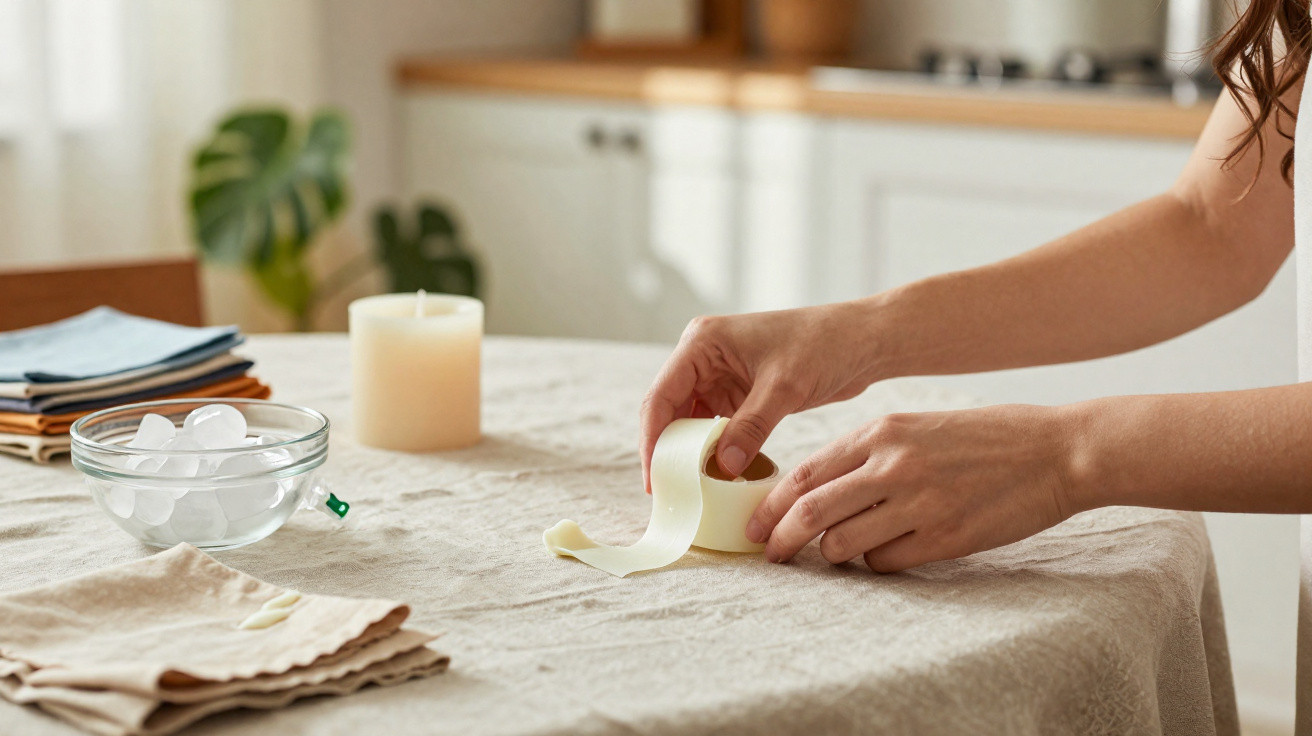
You do not want to use an iron. You do not want solvents. You need the wax gone immediately, without turning a small problem into a larger one.
The night I discovered the cold way to remove wax, I was leaning over a linen tablecloth that had made it through three flats and one accident-prone dog. Red wax from a pillar candle had run down a seam like lipstick across cloth. One person went for a hairdryer, while another brought rubbing alcohol. I intervened with a freezer pack and a butter knife from the kitchen drawer. We waited, listened, and watched as the wax came away in neat curls. The tablecloth retained its understated grace. The candle did not win that evening. The answer is colder than you might expect.
Why the no-heat, no-chemicals approach works
When chilled, wax acts rather like a miniature suit of armour: firm, brittle and prone to flaking rather than smearing. Heat melts that protective layer, and liquid wax readily works its way further into a fabric’s weave or pile. That is how a small mark becomes a spreading stain. The method is straightforward: harden the wax, then remove it layer by layer. No hissing irons or liquid chemicals, only patience, gentle pressure and a careful hand.
We have all stood over a spill while everyone in the room has a different suggestion. I have removed wax from velvet dining chairs, wool coats in cloakrooms and the hem of a bridesmaid’s dress beneath a bathroom hand dryer. The successful approach has always been the same: chill, chip, repeat. In my workshops, nine out of ten wax accidents can be resolved with cold treatment alone; the remaining one is nearly always coloured dye, which requires separate attention later. You can tell the difference simply by looking.
The physics supports this approach. As wax warms, its oils become mobile, so it softens and travels. Cold stops that movement and causes the wax to break first at its highest points. Nothing is being dissolved; instead, you are undoing the spread and reducing the amount left behind. Consider mud on a shoe: you would not melt it away. You would allow it to dry, knock off the loose pieces and brush away the rest. Fabric responds just as kindly when you avoid pushing liquid further into it.
The step-by-step cold method for removing wax
Begin by allowing the wax to harden completely. When it still looks glossy or feels soft, hold a zip-top bag of ice or a gel pack over it for 5–10 minutes. With clothing, place a cutting board behind the material to keep it stretched flat. Take a blunt butter knife or plastic card and skim from the outer edge towards the centre. Try to produce fine shavings rather than deep scrapes. If the wax starts to soften beneath your fingers, return it under the ice for another minute.
Then tackle the finer residue. Use the “pinch and crumble” technique: push the fabric from behind to raise the wax dome, then tap the raised edge with your tool to split it. On knitted fabrics, stretch the material gently and the wax should break along the knit lines. With velvet, corduroy or upholstery, tap behind the affected section with a spoon to crack the wax layer, then collect the fragments using painter’s tape. Let’s be honest: nobody does that every day. But it is worthwhile today.
Tape-and-lift provides the final clean-up. Apply fresh painter’s tape or masking tape to the remaining residue, pat it once and peel directly upwards. Move to an unused section of tape for every press. Afterwards, make a low-suction pass with the vacuum, covering the nozzle with a clean nylon stocking to trap the particles. Should coloured wax leave a light tint, stop there. The wax structure has been removed; the pigment is a separate stain to address another time.
“Cold makes wax honest,” says textile conservator Mae Lin. “When it’s brittle, it can’t hide in the weave. Your job is to coax, not scrub.”
- Freeze, flake, repeat when dealing with heavy spills: two or three cooling cycles work better than one prolonged scrape.
- Put delicate items into a freezer bag for 30–60 minutes, then treat them over a towel.
- For pile fabrics, use a soft brush at the end to restore the nap.
Common mistakes, gentle remedies and when to stop
Most problems begin when people hurry through the initial stage. Trying to lift a warm lump causes it to smear into a crescent and makes the task twice as difficult. Stick with the cold treatment. Hold the tool flat, as if shaving off paint, rather than digging into the fabric. Where wax has settled in a seam, open the seam and scrape along its ridge instead of pushing wax downwards. One patient minute now is better than ten untidy minutes later.
Coloured candles may leave a trace on pale materials, but that is pigment rather than wax. Today’s goal is mechanical removal, and achieving that is already a useful result. If the remaining mark is subtle and you have more pressing things to do, put the item back into use and return to it on laundry day if desired. Let’s be honest: nobody really does that every day. A linen runner with the slightest shadow at dinner will be noticed by nobody except you.
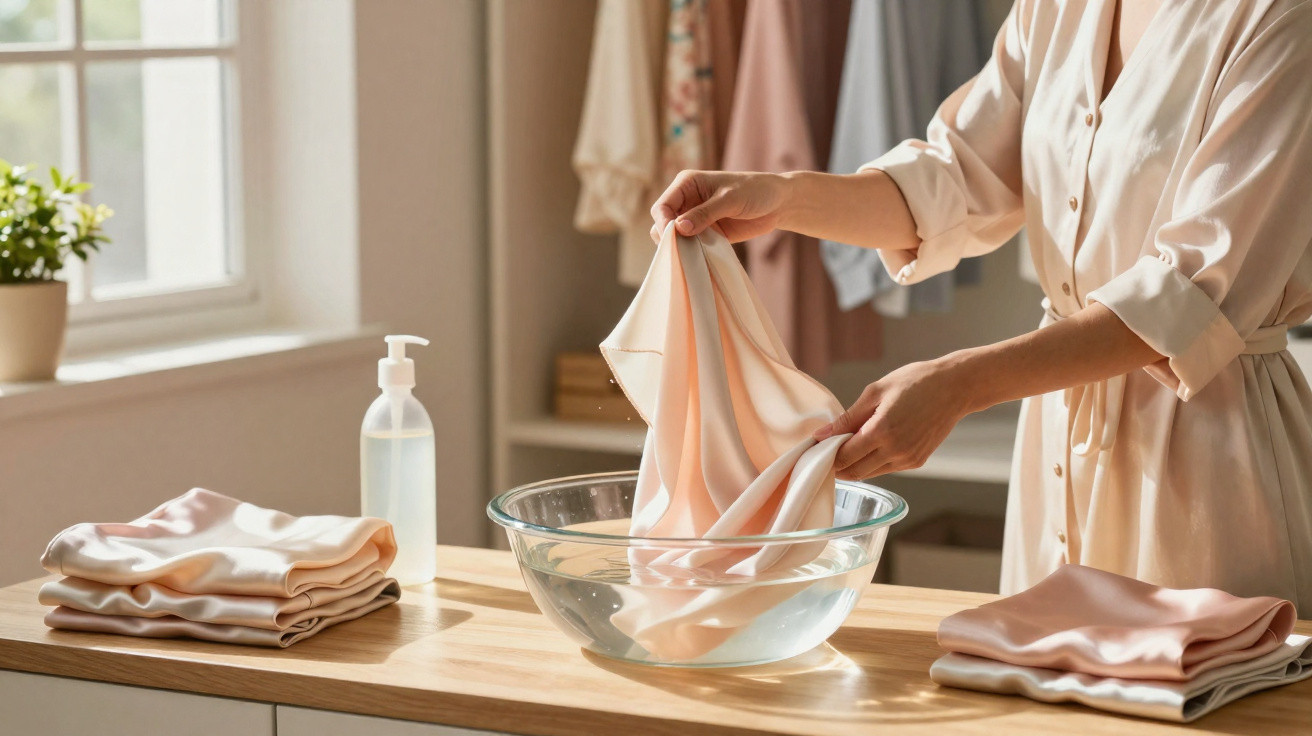
Delicate textiles call for an even gentler approach. For silk, chiffon or lace, freeze the item first, then use a wooden skewer or the blunt side of a nail file. Work over a white towel so that you can track your progress. You’ll hear the tiniest crackle as the wax gives up. For fixed upholstery, make a cold “cap” by chilling a metal spoon in ice water, resting it on the mark for a minute, then lifting and flaking away the wax. Complete the job with a no-heat, no-chemicals pass using tape. If the tape picks up nothing, stop. You are finished for today.
Small habits that help fabric last longer
Wax mishaps are usually isolated incidents, but they reveal how we handle fabric when under pressure. Replacing force with finesse helps protect fibres, colour and your peace of mind. Most households already have everything required: a butter knife, tape, a cold pack and a patient hand. Storing a spare lint roller in the dining drawer is not excessive. It is a quiet assurance that you can handle a drip if it happens.
| Key point | Detail | Benefit for the reader |
|---|---|---|
| Chill before you touch | An ice pack or freezer time makes wax brittle and ready to lift | Prevents it from smearing further into the fabric |
| Scrape low and from the edge | Use a blunt tool at a shallow angle, with strokes from outside in | Removes the bulk without damaging fibres |
| Tape-and-lift finish | Use fresh sections of tape, peel straight up, then vacuum lightly | Captures tiny residue without heat or products |
FAQ:
- Can I make this faster with a hairdryer? Avoid heat. Warm wax liquefies and sinks into the fabric. Cold breaks it cleanly, allowing you to lift it away.
- Is it safe to place a silk blouse in the freezer? Yes, provided it is in a dry zip-top bag for 30–60 minutes. Afterwards, work gently with a wooden tool.
- What if the wax was coloured and left a pink shadow? That is dye, not wax. The cold method removes the wax today. You can deal with the pigment later during normal laundry, if you wish.
- Can I use water at all? Water is unnecessary for removing wax. If you lightly blot with cool water, use as little as possible and do not rub, particularly on delicate materials.
- How long will it take? Most marks clear within 10–20 minutes, including two or three brief re-chilling cycles for stubborn patches.


Comments
No comments yet. Be the first to comment!
Leave a Comment