
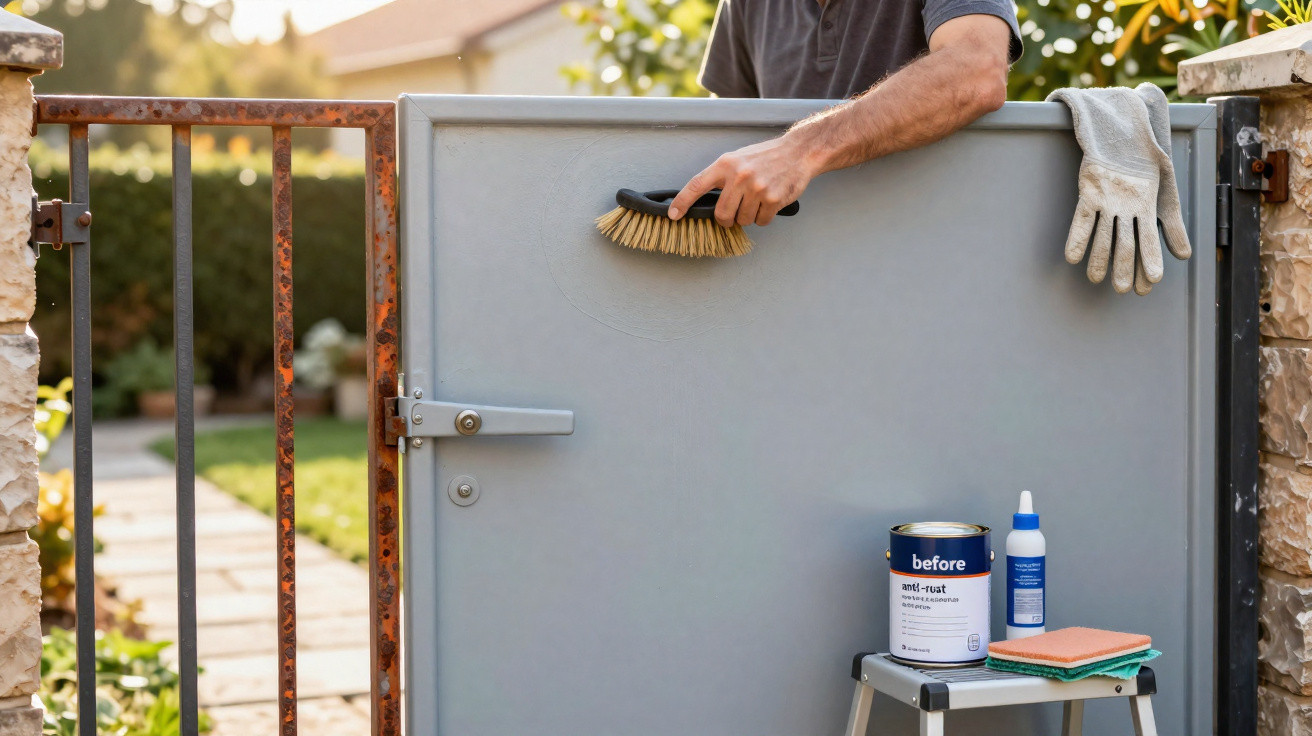
Getting rid of gate rust does not end the moment the orange marks fade. Corrosion can start all over again if the steel is left exposed to moisture after sanding. For the repair to last, you need to follow a proper sequence: remove the oxidation, get rid of dust and grease, apply an anti-corrosion primer, and only then apply the finishing paint.
Why does rust come back after you simply paint the gate?
Paint can cover up oxidation for a while, but it does not stop corrosion that is still active beneath the new coat. If there is loose rust, trapped moisture, or unprotected metal, the paint adheres less effectively and you will start to see blisters, cracking, and fresh reddish spots.
- Old rust remains under the paint.
- Sanded metal is left without protection from water and oxygen.
- Dust and grease reduce how well products stick.
- Gaps in the paint film let rain in.
- Welds, edges, and areas close to the ground are especially exposed.
How do you correctly remove oxidation before painting?
Start by taking off any flaking paint and rust using a wire brush, sandpaper, or a suitable abrasive tool. The aim is not just to make the surface look better, but to reach a sound base, free of crusts that could break away later. For small areas, hand work is usually enough; heavily deteriorated gates may require a power sander.
After sanding, remove all the dust created. If there are still deep pockets of corrosion, they need attention before you move on. Painting over small rust patches hidden in corners or around welds is often exactly why the issue reappears in those spots first.
Why is degreasing a step you should not skip?
Even once the metal has been sanded, it may still have hand oils, hinge grease, soot, and other residues. Degreasing prepares the surface to receive the anti-corrosion primer and improves adhesion. Use a product compatible with the paint system you have chosen, and wait until the metal is completely dry before continuing.
- Remove all sanding dust.
- Get rid of oil, grease, and stuck-on grime.
- Do not apply primer to damp metal.
- Protect hinges and parts that will not be painted.
- Follow the drying time stated by the product manufacturer.
What is the purpose of anti-rust primer before the paint?
An anti-corrosion primer forms an intermediate layer between the steel and the topcoat. As well as helping the paint bond, it reduces the metal’s direct contact with water and oxygen. There are primers made specifically for ferrous metals, including anti-corrosive formulations that should be selected to match the type of enamel applied afterwards.
The anti-rust primer should especially cover areas left exposed after sanding. A very thick coat is not a substitute for even coverage. It is also important to respect the interval between coats and the recommended wait before the final paint, because applying enamel over primer that is still damp can harm the finish.
How do you protect the gate so corrosion takes longer to return?
Once the primer is dry, apply a paint intended for outdoor metal surfaces, paying extra attention to edges, welds, and areas near the ground. These sections hold water more easily and are common starting points for corrosion. Two or more coats may be needed depending on the product, always following the drying interval stated on the tin.
Maintenance starts after the painting is done. Small scratches and peeling should be repaired before the steel is left exposed for months, and any places where water collects need to be addressed. The sequence that truly extends the result is straightforward: remove the rust, clean and degrease, apply an anti-corrosion primer, and finish with a suitable paint. Skipping any of these steps turns painting into a temporary cover for an oxidation process that continues underneath.


Comments
No comments yet. Be the first to comment!
Leave a Comment