
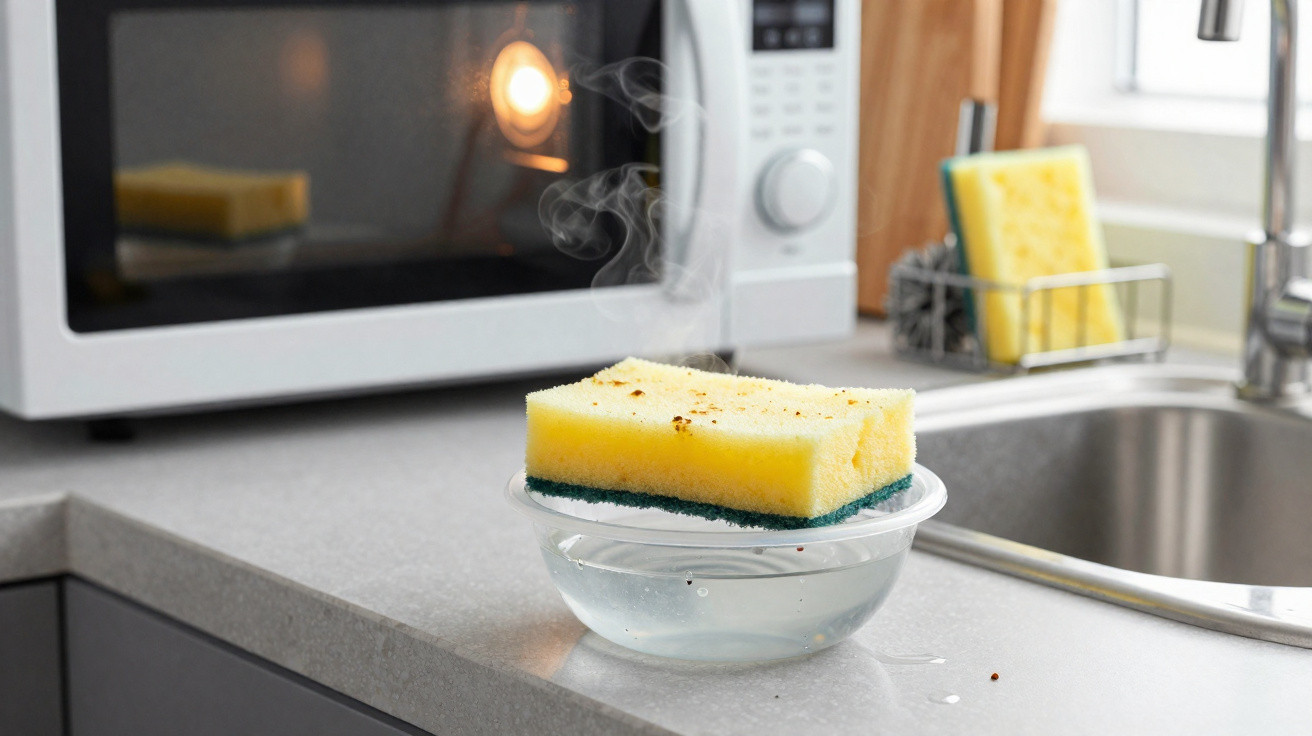
It all begins with the sponge. We reach for it to wash plates and pans and to mop up spills, then abandon it damp beside the sink. That familiar habit quickly leads to build-up and unpleasant smells. As a result, a quick burst of heat in the microwave has become a popular addition to at-home kitchen hygiene routines.
The grubby truth about kitchen sponges
As you wipe and scrub, a sponge collects food proteins, fats and sugars. Those leftovers become a food source for microbes. In warm kitchens, especially where water sits around, growth accelerates. Before long you may notice a sour odour and a greater risk of cross-contamination - particularly when the sponge touches chopping boards, door handles and taps.
Cellulose sponges stay wet for hours at a time. Scourer-style pads can hold crumbs and residue deep within their fibres. Rinsing helps on the surface, but it rarely flushes out what is trapped inside. While it slowly dries, bacteria continue to multiply.
A damp sponge offers perfect conditions for microbes: food, warmth and water. Break that trio and you cut the risk fast.
Why microwaving a sponge may help
Microwaves heat the water held in the sponge. That rise in temperature can inactivate many everyday bacteria. The heat also helps drive off moisture, making it harder for new microbes to bounce back straight away. When done properly, this can reduce odours and stretch the time a little before the sponge needs throwing away.
What heat actually does
High temperatures disrupt bacterial proteins and can damage cell membranes. It also leaves a less hospitable environment for anything that survives. With less water left behind, fewer cells can recover once the sponge goes back into use. Even so, the benefit does not last long, which is why ongoing routine matters.
- Lowers the number of living bacteria on the surface and within the sponge.
- Reduces stale, musty smells that come from microbial activity.
- Can lengthen how long a sponge is usable between replacements.
How to try the microwave method safely
Preparation matters, and you should assume the sponge will be extremely hot afterwards. The aim is to heat it through while avoiding any risk of scorching.
- Read the packaging first. Never microwave sponges containing metal fibres or metallic dyes.
- Wet the sponge until it is dripping, then give it one squeeze so it is fully saturated rather than almost dry.
- Put it in a microwave-safe bowl and pour in about 150 ml of clean water.
- Microwave on full power for 90–120 seconds. With smaller microwaves, you may need the full two minutes.
- Keep your distance and leave it to sit for 2 minutes; the steam can scald.
- Lift it out with tongs, rinse quickly under cool water, wring it out and leave it upright to air-dry.
Key rule: soak the sponge. A dry or nearly dry sponge can scorch or catch fire in seconds.
Precautions and red flags
Do not use this approach on scouring pads that may contain hidden metal. Avoid heating any sponge that has been used with strong chemicals. If a sponge still smells after heating, replace it. Stay in the kitchen while the microwave is running, and stop immediately if you notice smoke. If the sponge splatters, wipe down the microwave afterwards.
Some food-safety advice in certain countries now favours frequent replacement over regular sanitising. Microwave wattages and heating patterns vary, so results can be inconsistent. Think of this as a temporary refresh, not a promise of safety.
Does it replace proper cleaning?
No. Heating can help, but it will not make an old sponge sterile. Swap sponges regularly and keep separate tools for higher-risk jobs. A firm washing-up brush tends to dry faster than a sponge. Microfibre cloths are easy to launder in a 60°C wash.
| Method | How it works | Pros | Cons | Best use |
|---|---|---|---|---|
| Microwave | Heats water inside sponge for short, intense exposure | Fast; reduces odour; uses no chemicals | Fire risk if dry; uneven heating; not for metal pads | Quick refresh for a wet, non-metal sponge |
| Boiling water | Five minutes at a rolling boil | Even heat; low cost; no microwave needed | Needs hob time; can degrade sponge faster | Heavier-duty sanitising at home |
| Dishwasher | Place sponge on top rack during a hot cycle | Hands-off; combines with normal wash | Varies by machine; may not heat core enough | Routine refresh with weekly dishwash |
| Diluted bleach | Soak 5 minutes in 0.1% bleach, then rinse | Strong kill rate; predictable | Smell; handling chemicals; needs full rinse | Deep clean when odours persist |
| Regular replacement | Bin old sponges on a set schedule | Removes biofilm and residue entirely | Cost; waste if replaced too often | Primary strategy for busy kitchens |
Eco-friendly choices that stay fresher
Consider cellulose sponges made from plant pulp or recycled fibres, as many break down more quickly after disposal. Copper scrubbers dry fast and resist rust. Silicone scrubbers rinse clean and do not retain water, which helps prevent sour smells. Steer clear of antibacterial chemical coatings that can wash down the drain.
Drying is crucial. Choose a holder that keeps sponges standing up, with air able to circulate on every side. Faster drying slows microbial growth far more effectively than fragrance additives.
How often should you replace a sponge?
If you use one heavily, plan to change it every 7–10 days. Lighter use can stretch to around two weeks. Replace it sooner if it has been used on raw meat spills. When a sponge smells even after washing, a biofilm has formed that you are unlikely to remove at home. To make a pack last longer and keep each piece fresher, cut large sponges in half.
If it smells, it is done. Odour signals a mature biofilm that household steps rarely remove.
Common mistakes to avoid
- Putting a dry or nearly dry sponge in the microwave.
- Heating scourers with metal threads hidden inside.
- Running it for more than two minutes on high.
- Grabbing a hot sponge with bare hands immediately.
- Using one sponge for raw meat juices and everyday washing-up.
- Leaving the sponge lying flat in a puddle or on a surface that blocks airflow.
A simple kitchen hygiene upgrade
Try a simple rotation system: keep two sponges labelled “A” and “B”. Use one while the other dries out completely. After the evening wash-up, heat-treat the wet sponge. Swap them over each morning. Dispose of both after two weeks. This reduces the time either sponge spends wet and shares out the wear.
It also helps to separate tasks. Use a dedicated cloth for worktops, a brush for pans, and paper towels for raw meat mess. By lowering the microbial load your main sponge deals with, the microwave refresh becomes less critical - and the area around your sink stays fresher.
Comments
No comments yet. Be the first to comment!
Leave a Comment