
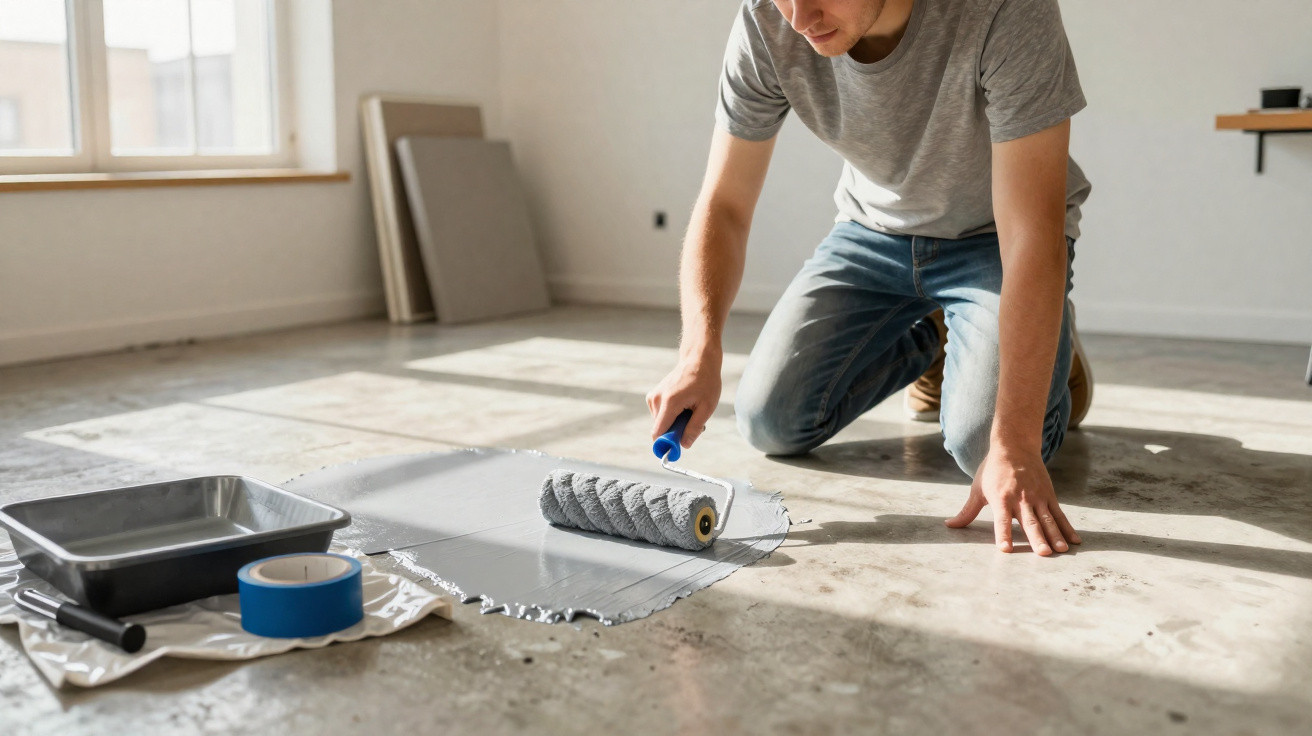
Painting a concrete floor has become a popular way to refresh a garage, patio or veranda without replacing the existing finish. Because the concrete itself acts as the base, you can modernise the look of the space with straightforward work, keeping costs, mess and disruption to a minimum. At the same time, the coating helps protect the surface and makes everyday cleaning easier.
Why is painting a concrete floor such a widely used option?
Painting a concrete floor is especially common in garages, verandas and utility areas where the surface looks worn but remains structurally sound. In situations like these, paint often sits neatly between a quick clean-up and a full refurbishment that involves removing and replacing the floor covering.
Spending typically goes mainly on a floor-specific paint, primer, rollers, trays, masking tape and cleaning products. For smaller spaces, you need less material, which makes the job more affordable. It also gives you plenty of design flexibility, from understated shades to bold colours that work with gates, walls and furniture.
Watch a video on the YouTube channel PLANARQ CAMPOS / Ralph Dias about applying epoxy paint to floors and tiles, including the key precautions to stop it peeling.
How should you prepare a concrete floor before painting?
Preparation is the most important factor in achieving a long-lasting finish when painting a concrete floor. Concrete is porous, can hold moisture and traps residue; if this stage is rushed or done poorly, the result can be peeling, staining, blistering and the need to repaint far sooner than expected.
Before you even open the paint tin, it is worth following a few essential steps to improve adhesion and overall performance-particularly in garages, covered verandas and hard-working utility areas.
- Deep clean: remove dust, dried mud, splashes of old paint and any loose debris.
- Thorough degreasing: in garages, use a dedicated degreaser to remove oil and grease.
- Fix defects: fill cracks, holes and uneven spots with concrete repair products.
- Check for moisture: look for leaks, rising damp from the ground, or areas that stay persistently wet.
- Apply primer: use a suitable primer/sealer for cement-based surfaces before the topcoat.
How to paint a concrete floor step by step
Painting a concrete floor follows a clear sequence, which you can adjust depending on the condition of the substrate and the product system you choose. In general, the better the preparation, the lower the risk of future problems and the longer the coating is likely to last.
Once the floor is clean and fully dry, carry out any necessary repairs, lightly sand where needed and apply the primer. After that, apply the paint in thin coats, allowing the recommended drying time between coats and waiting for full curing before letting people-or vehicles-use the area.
What are the most common problems, and how can you avoid them when painting a concrete floor?
The issues most often reported after painting a concrete floor include peeling, patchy staining, slipperiness and premature fading. In most cases, these problems are linked to moisture, inadequate cleaning, or using a product that is not suitable for the level and type of traffic in the space.
To minimise the chances of failure, a few practical points are worth keeping in mind: hidden damp can force the coating to lift from underneath; coats applied too thickly are more likely to crack over time; and outdoors, paints that are not designed for strong sun can lose colour quickly. With careful preparation, the right materials and proper curing times, it is possible to update a garage, patio and veranda at a controlled cost and with minimal disruption to day-to-day life.





Comments
No comments yet. Be the first to comment!
Leave a Comment