
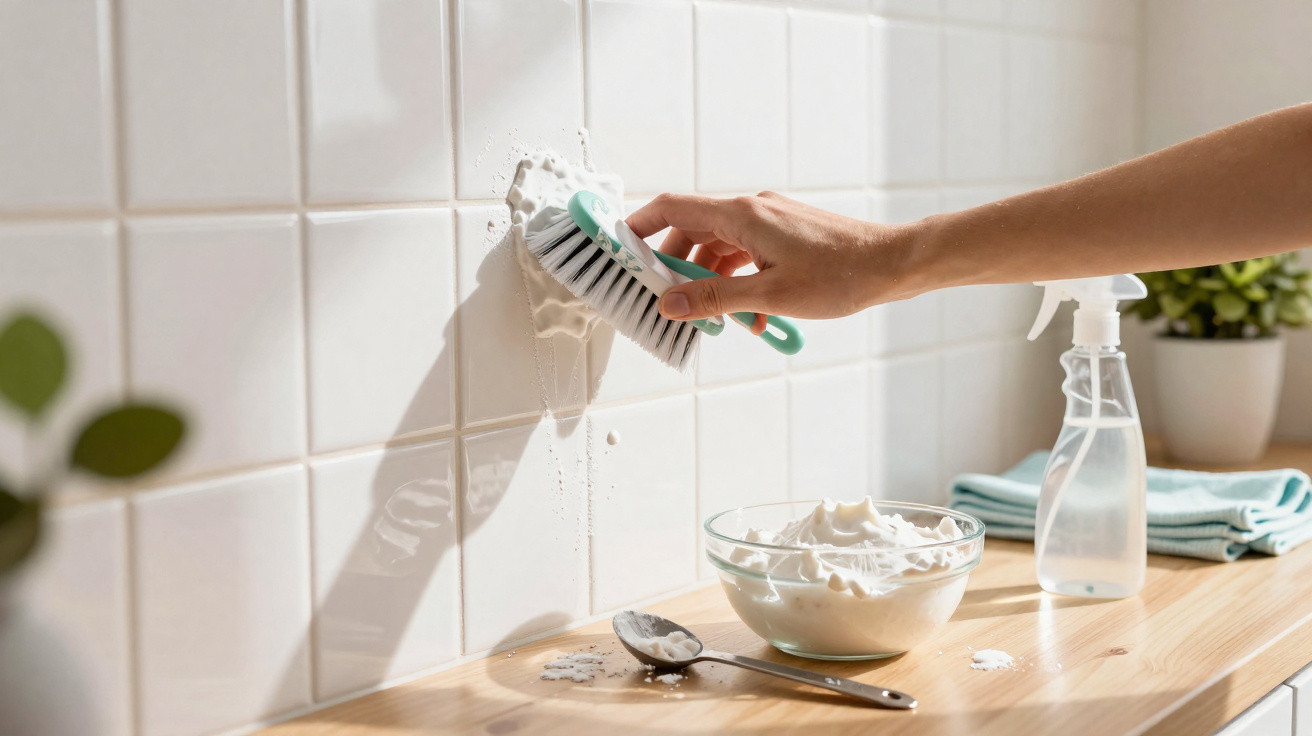
Kitchen and bathroom tiles in many homes gradually collect grease, soap scum and general grime, leaving surfaces looking dull and making cleaning feel like a chore. One increasingly popular approach is to use sodium bicarbonate (baking soda) mixed with water - a straightforward, low-cost option that can lift residue without relying on harsher chemical cleaners, provided you apply it carefully and in the right ratio.
How does sodium bicarbonate work when cleaning tiles?
Sodium bicarbonate has a mild abrasive quality and helps neutralise odours, which is why it is a familiar staple in household cleaning. When combined with water, it becomes a mixture that can loosen light grease and stuck-on dirt without scratching, particularly on ceramic tiles or glazed porcelain.
In everyday use, the method relies on controlled friction: the bicarbonate helps “release” the grime, while a sponge or cloth does the rest. For that reason, it’s best to use soft tools, keep your movements gentle, and avoid pressing too hard - especially on more delicate areas or finishes with a sensitive shine.
Ideal proportions of sodium bicarbonate and water to clean tiles
For general cleaning, the most commonly suggested mix is around 1 tablespoon of sodium bicarbonate for every 250 ml (1 glass) of water, which creates an effective solution that remains gentle. For targeted spots - such as splashes behind the hob or more stubborn marks - you can make a thicker paste using roughly 2 tablespoons of sodium bicarbonate to 1 tablespoon of water.
For larger surfaces, the liquid mix can go into a spray bottle to make application easier, while the paste is better suited to corners and concentrated greasy patches. In both situations, it’s preferable to mix it fresh, use it straight away, and avoid storing leftovers so it doesn’t lose effectiveness or form lumps that are awkward to rinse off.
Simple step-by-step for applying sodium bicarbonate to tiles
To get the most from sodium bicarbonate’s cleaning power, it helps to follow an organised routine. This cuts down on waste, reduces the risk of marks, and supports the long-term condition of both the tiles and the grout.
- Remove dust and loose debris: wipe with a dry or slightly damp cloth to clear dust, hair and surface residue.
- Make the solution or paste: combine sodium bicarbonate and water in the ratio that suits the area you’re cleaning.
- Apply to the tiles: spread using a soft sponge, microfibre cloth or a spray bottle, covering greasy or stained sections.
- Leave it to work for a few minutes: wait 5 to 10 minutes, without allowing the mixture to fully dry on the surface.
- Scrub gently: use light circular motions, and avoid steel wool or anything overly abrasive.
- Rinse and dry: remove thoroughly with clean water, then finish with a dry cloth to prevent whitish residue.
Grout care and how often to use sodium bicarbonate
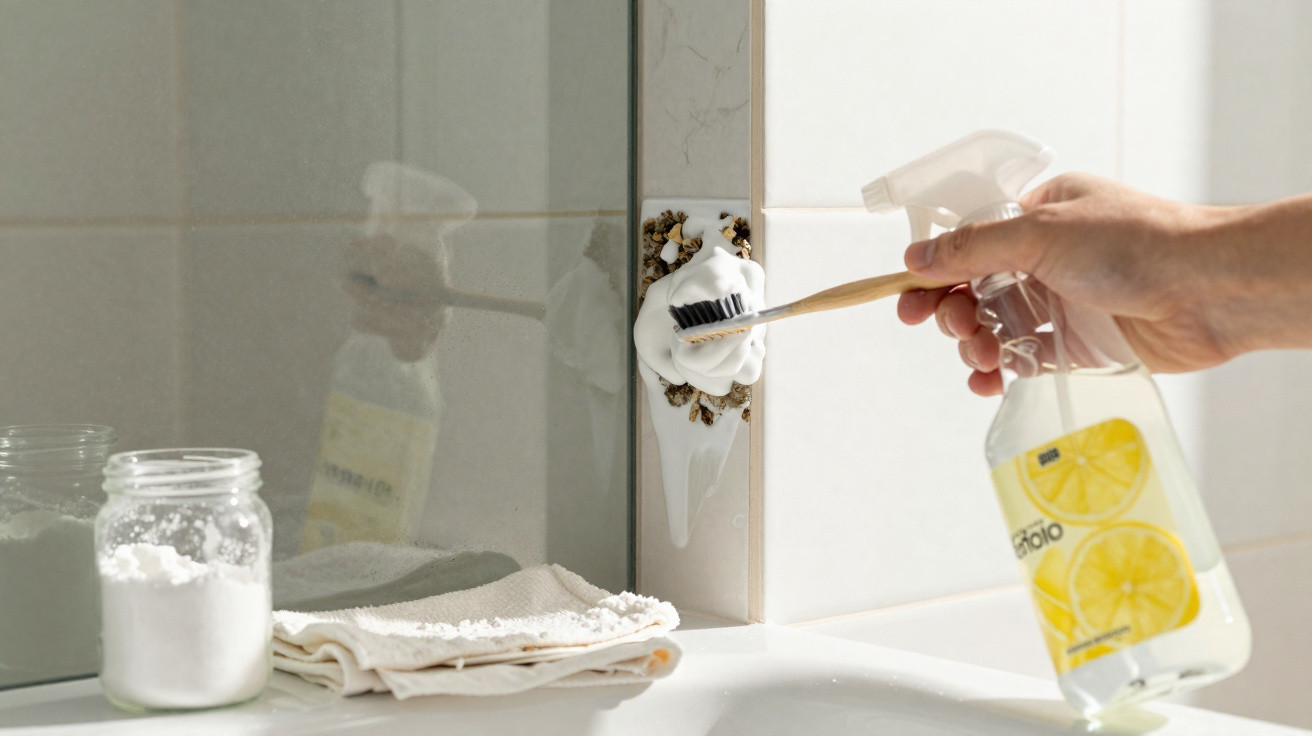
Although it’s generally seen as gentle, sodium bicarbonate can be moderately abrasive - particularly as a thick paste - and may wear older grout if used too frequently. Avoid heavy scrubbing, test on a small area first, and alternate with neutral washing-up liquid or products recommended for your specific type of wall or floor covering.
In kitchens where frying is common, using it weekly or fortnightly is usually enough for a more thorough clean, while day-to-day upkeep can be left to neutral detergent or mild soap. In the bathroom, it’s useful for heavier cleaning of the shower enclosure and walls, helping to bring back shine and manage odours without putting ongoing strain on the surface over time.

Comments
No comments yet. Be the first to comment!
Leave a Comment