
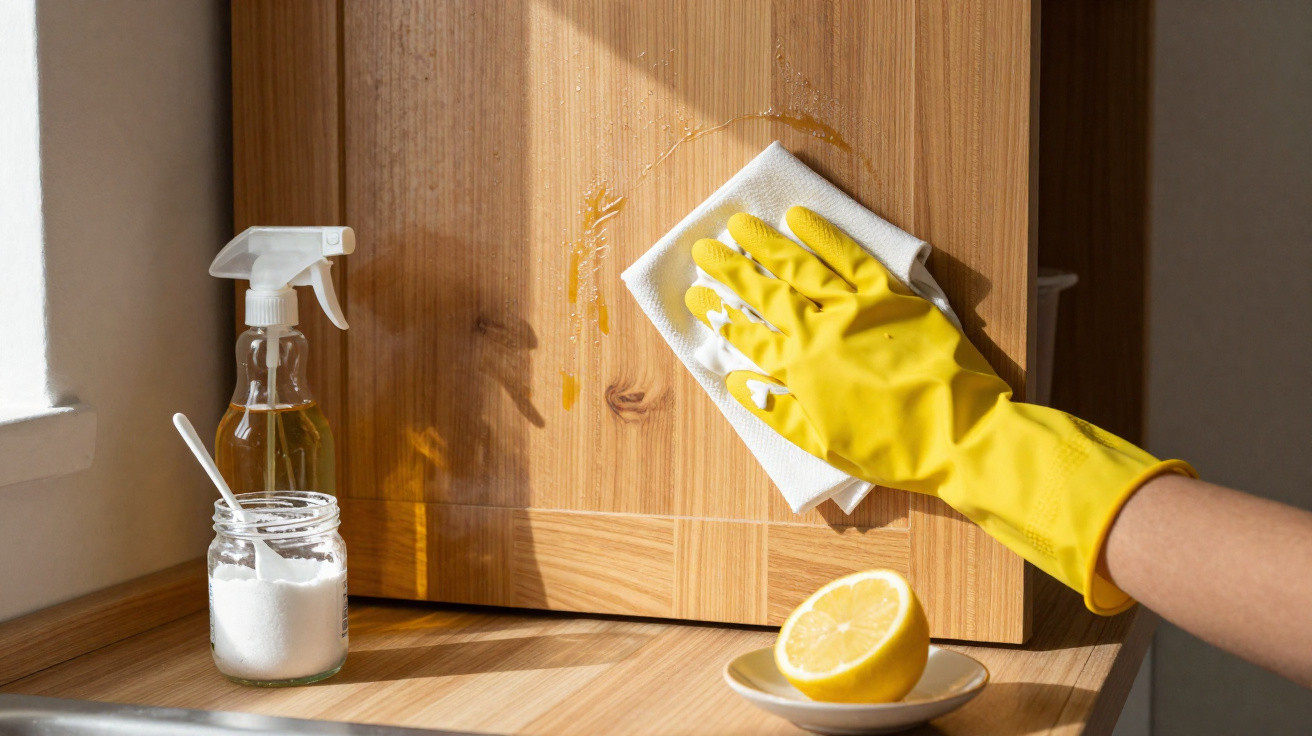
Greasy film on your kitchen cabinets and no idea where it came from?
It tends to arrive gradually until, one day, it feels like it will never come off.
As you cook, vapour, fine droplets of fat and everyday dust combine to leave cupboard fronts coated in a sticky layer that shrugs off a quick wipe. Plenty of people immediately reach for powerful degreasing sprays, yet a cheap cupboard staple can bring those doors up just as effectively - without relying on lots of harsh ingredients.
Why kitchen cabinets get so greasy in the first place
Whenever you fry, sauté or let something simmer, tiny particles of fat disperse into the air. Rather than disappearing, they land on nearby surfaces - particularly cupboard doors and handles around the hob.
After settling, the residue clings to dust and other cooking deposits. Given a few weeks (or months), this builds into the familiar dull, slightly tacky film that leaves cabinets looking worn and feeling grubby, even if the washing up is always under control.
Extractor fans and keeping pans covered can lessen it, but they won’t eliminate it entirely. That’s why even the neatest home cooks eventually spot a stubborn sheen on cabinet fronts that ordinary washing-up liquid can’t quite lift.
"Grease on kitchen cabinets is less about big splashes and more about thousands of invisible particles slowly building up into a sticky film."
The budget ingredient that lifts grease: baking soda
The article from German media highlights a simple, low-cost option you may already have at home: baking soda (commonly sold in the UK as bicarbonate of soda). It’s mildly abrasive and alkaline, which makes it well suited to tackling greasy deposits.
How baking soda works on cabinet grime
Grease is largely fat-based, so plain water doesn’t shift it easily. Baking soda alters the surface pH and helps break apart fatty residues so they loosen and rinse away with less effort.
It also offers a light scrubbing action thanks to its fine texture. Used properly, it’s gentler than many scouring powders and is usually suitable for painted or laminated cabinet fronts.
"Baking soda acts like a gentle exfoliator for your kitchen: rough enough to shift grease, soft enough for everyday surfaces."
Step-by-step: cleaning kitchen cabinets with baking soda
You don’t need complicated mixtures or a shelf of products. A basic paste is enough:
- Combine baking soda with warm water in a small bowl until it becomes a thick paste.
- Dip a soft sponge or microfibre cloth into the paste.
- Work it over greasy patches in circular motions, using light pressure.
- On particularly stubborn areas, leave it in place for 1–2 minutes.
- Remove the residue using a clean, damp cloth.
- Dry with a towel to prevent water marks.
If the cabinet doors are heavily soiled, adding a single drop of washing-up liquid to the paste can increase the degreasing power. The soap’s surfactants, paired with the alkalinity of baking soda, help break down older, stickier build-up that’s been left for months.
Other household ingredients that clean cabinets
Baking soda isn’t the only everyday item that can help. The original piece also pointed to vinegar and lemon as alternatives, each with particular advantages - and drawbacks.
Vinegar solution for grease and germs
White vinegar, mixed with warm water, can deal with light grease and offers an antibacterial effect. Many people keep it in a spray bottle for quick, routine wipe-downs.
However, there’s an important limitation: vinegar is acidic and may harm some finishes. Over time, strong vinegar solutions can dull or mark certain surfaces, including solid wood with delicate varnish, natural stone, and some high-gloss coatings.
Lemon juice for light films and fresh scent
Lemon juice diluted with water can also help cut through grease due to its natural acids. It leaves a clean, fresh fragrance and is often a good fit for regular cleaning when the greasy layer is still quite thin.
As with vinegar, it’s best diluted and tested first in an inconspicuous spot, particularly on real wood or painted finishes. If left sitting for too long, acidic liquids can stain or dull some surfaces.
| Home remedy | Best for | Use with caution on |
|---|---|---|
| Baking soda paste | Stubborn greasy film, older build-up | Very glossy lacquer, high-shine dark surfaces |
| Vinegar solution | Light grease, routine wiping, odour control | Natural stone, delicate varnish, some metals |
| Lemon-water mix | Light film, freshening smell | Unsealed wood, sensitive paint |
How to keep cabinets cleaner for longer
Once the doors are finally back to looking fresh, the goal is to slow the return of that sticky coating. Consistent, low-effort routines tend to work better than infrequent deep cleans.
Simple prevention habits while cooking
A few tweaks during cooking can reduce airborne grease:
- Put lids on pans when frying or simmering.
- Turn on the extractor fan every time you cook and keep it running for a few minutes afterwards.
- Use the back rings for frying where splashes are less likely to reach cupboard fronts.
- Wipe off any obvious splatters straight away with a damp cloth before they dry.
A fast weekly wipe of cupboard doors using a slightly damp microfibre cloth helps remove new dust and light oils before they set.
A thin layer of oil as a protective trick
The German guide suggests an unexpected idea: spreading a very thin layer of cooking oil over clean cabinet doors. The reasoning is straightforward - fresh grease adheres less readily to a surface that’s already lightly oiled, and dust comes away more easily.
If you do try it, use the smallest amount possible. Place a drop of a neutral oil onto a soft cloth, distribute it thinly, then buff the surface so it doesn’t feel slippery. The aim is an almost invisible film, not a glossy finish.
"A microscopic layer of oil acts like a non-stick jacket for cabinet doors, making the next clean noticeably easier."
When home remedies might not be enough
Some kitchens have more demanding conditions. Indoor smoking, years of frequent deep-frying, or poor ventilation can leave grime layers far thicker than a standard greasy film. In those situations, baking soda and vinegar can still be useful, but you may need repeated passes and, potentially, a specialist kitchen degreaser.
The age and condition of the cabinets also makes a difference. Older units - especially those with chipped varnish or peeling foil - can absorb grease into the material. Heavy scrubbing can make the damage worse, so a gentler approach such as a baking soda paste is typically safer than abrasive pads or strong solvent-based cleaners.
Useful background on the chemistry in your cupboard
It’s common to feel wary of strong chemical sprays, but baking soda, vinegar and lemon juice are also chemicals with specific properties. Baking soda is alkaline, so it’s particularly effective against fats and certain types of grime. Vinegar and lemon juice are acidic: they can break down mineral build-up and some dirt, but they may also corrode or dull particular surfaces.
Using them together in the same step neutralises both sides and weakens the cleaning effect. In practice, it usually works better to pick one method for the task at hand rather than mixing everything into one supposed all-purpose solution.
Practical scenarios: matching the method to the mess
In a rental flat with laminate cupboards and a light sticky film around the hob, one clean with baking soda paste, followed by weekly wipes with a damp microfibre cloth, can keep things manageable with little effort.
In a family kitchen where pasta and sauces are common but frying is limited, a mild vinegar or lemon solution on cool cabinet fronts after cooking may be sufficient. Then, a more thorough baking soda clean two or three times a year can take care of any stubborn patches.
Where young children leave fingerprints on every door, hygiene may be the priority. In that case, a routine that alternates between baking soda for grease and a mild, food-safe disinfectant for handles can improve both appearance and reassurance about germs.





Comments
No comments yet. Be the first to comment!
Leave a Comment