
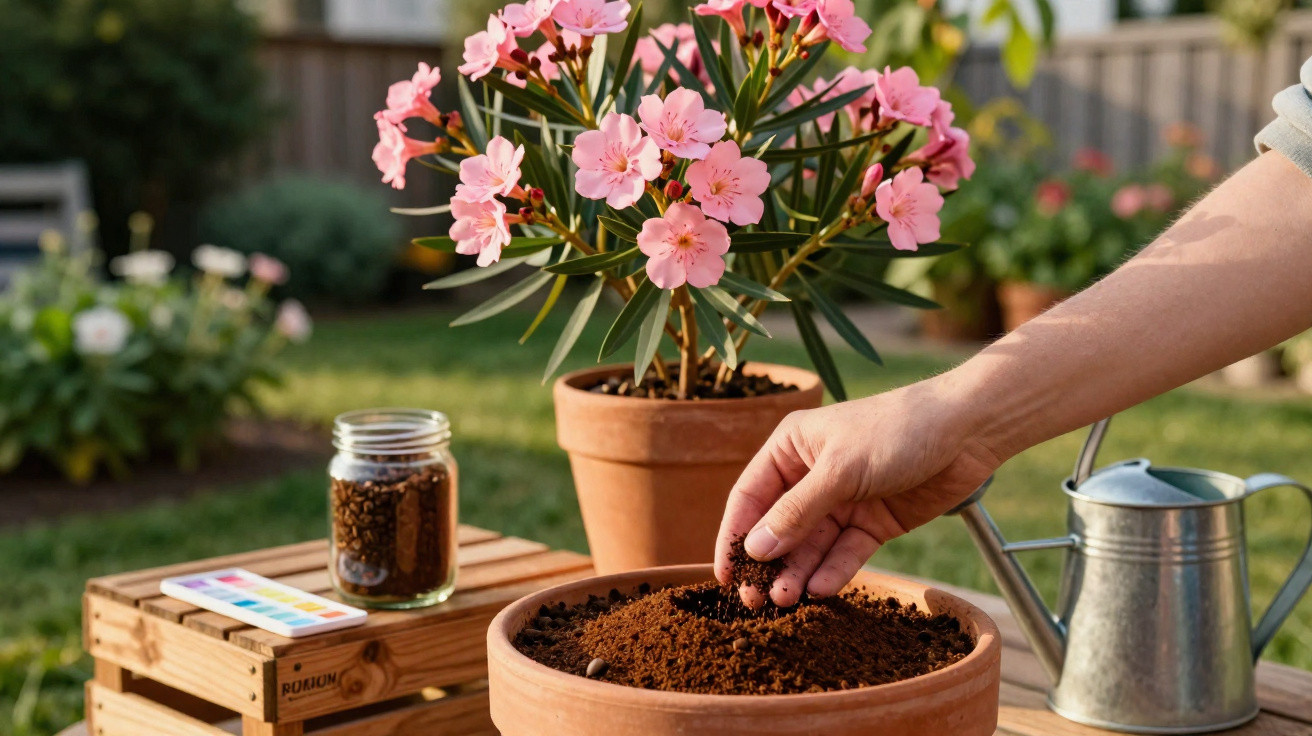
The Mediterranean oleander is considered a tough container plant that thrives on sun and heat. For years, a tip has been doing the rounds online: feed it with coffee grounds. It sounds like ideal recycling - but the difference between lavish flowering and a stressed plant comes down to a few simple steps. If you know what to do, that brown powder can genuinely boost bloom, rather than quietly weakening the shrub.
Why coffee grounds can be a blessing or a curse for oleander
Coffee grounds can look like a free, premium fertiliser at first glance. Among other things, they contain:
- Nitrogen - important for leaf growth
- Phosphorus - supports flower formation and root development
- Potassium - strengthens the plant and improves resilience
That makes them a reasonable match for oleander, which is a hungry feeder. However, one key detail is often missed: the pH value.
Coffee grounds usually sit at around pH 6.5, meaning they’re mildly acidic. Oleander, by contrast, prefers a neutral to slightly alkaline environment - roughly between pH 7 and 8. If too many coffee grounds are added directly to the potting mix, the pH can slowly drift into the acidic range.
"A soil that seems rich in nutrients can still leave oleander starving if the pH is no longer right."
In that situation the nutrients may be present, but the roots struggle to take them up. The result is classic deficiency symptoms, even though you’ve been diligently “feeding” the plant.
Typical warning signs: how oleander shows it’s had too much
If you use coffee grounds, it pays to watch the shrub closely. Common signs of imbalance include:
- Yellow leaves, especially on younger shoots
- Slower growth despite warm conditions and enough water
- Hardly any buds or a noticeably weaker display
- A dark, crusty surface on the compost in the pot
- A fine layer of mould on the surface, particularly in shaded corners
If several of these show up, there’s usually too much coffee grounds going into the pot or around the root area. At that point, good intentions tend to hold the oleander back.
How to use coffee grounds correctly on oleander
Always dry coffee grounds first
Fresh, damp grounds clump easily and can start to go mouldy. A better approach is to:
- Spread the coffee grounds out on a plate or baking tray
- Let them dry out completely somewhere airy
- Only use them once fully dry
Once dried, they’re easier to measure and spread evenly. This also lowers the risk of mould and the formation of dense surface crusts.
Never tip them on the soil neat
The biggest mistake is dumping a thick layer of coffee grounds straight onto the compost. That speeds up the pH shift and also reduces airflow to the roots. Mixing works far better.
"As a rough rule of thumb: about one tablespoon of dried coffee grounds to around 0.5 kg of mature compost."
After mixing, spread a thin layer over the surface and gently work it in. A small hand cultivator or a fork is enough. The key point: don’t dig deeply, as you could damage roots.
The right amount and how often
Even with organic leftovers, less is often more. For a strong oleander in a container, it’s usually enough to apply:
- Spring to late summer: every two weeks, a thin layer of the compost–coffee mix
- Autumn and winter (cooler position): at most once a month, very sparingly
Coffee grounds don’t replace a complete specialist fertiliser - they supplement it. A balanced oleander fertiliser provides the baseline, while coffee grounds add an extra organic nudge.
What to do if your oleander looks stressed
If the plant starts to look tired, it’s worth checking the potting mix promptly. When there’s a dark, hard layer sitting on the surface, the dose has been too heavy. The following steps help:
- Carefully remove the top layer of compost and dispose of it.
- Loosen the rootball without roughly tearing at the roots.
- If the compost is badly compacted, repot into fresh, free-draining mix.
- Stop using coffee grounds entirely for a few weeks.
- Later, restart with much smaller amounts - always mixed with compost.
At the same time, review your watering routine. Oleander does not like sitting in water. Waterlogging amplifies the downsides of too much coffee grounds, because decomposing material and lack of oxygen make each other worse.
Drainage, position, fertiliser: what oleander also needs
Coffee grounds are only one small piece of the puzzle. For genuinely abundant flowering, several factors need to work together:
| Factor | What oleander prefers |
|---|---|
| Position | Full sun, warm, sheltered from wind |
| Potting mix | Free-draining, more mineral-leaning, good water run-off |
| Watering | Plenty in summer, much reduced in winter |
| Feeding | Regularly with a specialist flowering or oleander fertiliser |
| Pruning | A light trim after flowering encourages branching |
If you get these basics right, you can use coffee grounds to support the plant in a targeted way - rather than trying to mask issues caused by the wrong position or waterlogging.
How the pH value determines whether a coffee-grounds routine works
The pH value decides whether nutrients are available to the plant or effectively locked away in the compost. Many gardeners only go by leaf colour, but a test gives clearer answers.
You can buy simple test strips or kits with drop solutions. These provide a rough reading of the potting mix. If the value sits clearly below 7, you should be very cautious with coffee grounds - or avoid them entirely. In slightly alkaline compost, a small organic acid input can be helpful.
"If you know roughly where your compost sits, you won’t use coffee grounds blindly - you’ll use them as a targeted tool."
Practical examples from everyday gardening
With a large oleander in a 40-litre pot, you can mix a heaped tablespoon of dried coffee grounds into a larger amount of compost about every two weeks. Then spread this mix around the root zone. At the same time, keep using your usual liquid feed in the watering can.
If the shrub is planted in a heavier, more clay-like mix, it makes sense to improve the compost first with sand, expanded clay, or lava grit. Only once aeration and drainage are right will organic additions like coffee grounds deliver benefits without putting the roots under strain.
Risks, limits, and sensible alternatives
Coffee grounds contain small residual amounts of caffeine. At typical garden doses this isn’t a major issue for oleander, but if you use them very heavily it can affect soil micro-organisms. If you drink several strong coffees a day and tip everything into the same container, you can overwhelm the system quickly.
As alternatives, well-rotted compost, horn meal, or specialist slow-release fertilisers for Mediterranean plants are good options. They provide a steadier nutrient supply, while coffee grounds are best treated as a bonus: useful when applied consciously and in moderation, risky when used as a one-size-fits-all fix for every plant.
Ultimately, it pays to keep a close eye on your own shrub. If it responds with dense, dark-green foliage and lots of flowers, your combination of compost, water, feed, and coffee grounds is working. If it looks exhausted, the cause is rarely just one factor - coffee grounds may be the final straw, or exactly the nudge that balances missing nutrients. The dose is what matters.






Comments
No comments yet. Be the first to comment!
Leave a Comment