
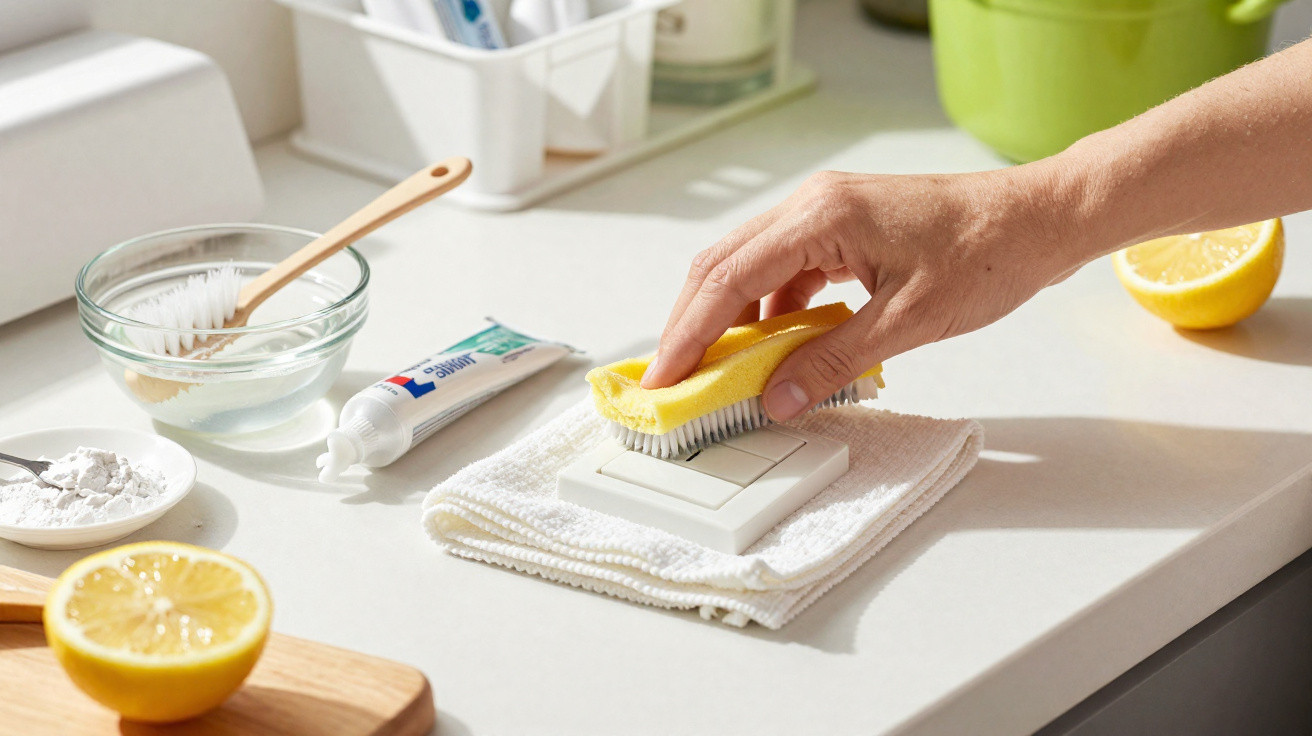
White switches, food processors and plastic storage boxes can suddenly look beige rather than crisp – and they instantly seem old and grimy.
A lot of household appliances and plastic parts change colour over the years. Instead of a clean white, a yellowish haze remains that normal cleaning barely shifts. The good news is that, with a few targeted tricks, a bit of time and the right products, you can often restore a lot of the original look – frequently without harsh chemicals and without damaging the material.
Why plastic turns yellow in the first place
To choose an approach that actually works, it helps to understand what causes the discolouration. Not every yellow tint is the same, and not every method suits every type of plastic.
"The main enemies of white plastic are direct sunlight, prolonged heat and grease deposits."
UV light from the sun attacks certain components in plastics, for example in light switches, kitchen appliance housings or old computer keyboards. Heat – from the hob, oven or heating elements – intensifies the process. Over time, colourants and plasticisers react, and the surface starts to look yellow and dull.
There’s also a second household factor: grease. In kitchens, a fine film of airborne cooking fat settles on handles, cooker hoods, microwaves and switches. That layer traps dust and creates uneven, patchy yellowing.
The most common cleaning mistakes
If you treat plastic too aggressively, you can make things worse. The usual pitfalls include:
- very hot water, which can warp plastic or make it go matt
- strong abrasives and rough sponges that leave fine scratches
- chlorine-based bleach, which can attack the material
- the dishwasher, when parts are not actually dishwasher-safe
Even everyday scratches act like tiny valleys: dirt collects inside them and darkens the surface. The plastic then looks even more aged.
"Before any treatment: check the material and test on a hidden spot."
A good place to test is the back, under a lip, or on an inside surface to see whether a product dulls, damages or discolours the finish.
Bleaching plastic with hydrogen peroxide
Hydrogen peroxide, often sold as a “hydrogen peroxide solution” or “oxygen water”, is one of the most effective options for yellowed plastic – especially for parts that were originally very bright or white.
What you’ll need
- hydrogen peroxide solution in a suitable concentration
- household gloves
- cling film or a shallow tray
- soft cloths or a brush
Before you start, the parts must be clean and free of grease. Remove loose dirt with mild washing-up liquid, then dry thoroughly.
How to apply it
- Put on gloves and protect your work surface.
- Apply the hydrogen peroxide evenly to the yellowed areas – place small parts in a tray, and coat larger areas with a brush or cloth.
- Cover with cling film so the liquid doesn’t evaporate too quickly.
- Leave for a few hours, depending on the level of yellowing; many people choose a bright spot because light supports the effect.
- Rinse very well with clean water and dry.
If the yellowing is heavy, multiple rounds are often worthwhile. The key is to keep checking that the plastic isn’t becoming brittle or developing patches.
"Hydrogen peroxide can make plastic look noticeably fresher – but leaving it on too long or using too high a concentration can damage the surface."
“Polishing” light yellowing with toothpaste
Toothpaste works like a very gentle polish and is best for mild yellowing and a greyish film, for example on light switches, remote controls or appliance casings.
Choosing the right toothpaste
Plain white pastes without coarse particles are ideal. Strong “whitening” types with lots of abrasive or gel pastes with dyes are less suitable, as they can scratch plastic or leave staining.
Step by step
- Wipe the surface with a slightly damp cloth, then dry it.
- Put a small amount of toothpaste onto a soft cotton cloth.
- Rub over the yellowed areas using small circular movements.
- For grooves and textured sections, use a soft toothbrush.
- Wipe off thoroughly with lukewarm water and buff dry.
This method is best when the surface is simply a bit dull and lightly discoloured. If the yellowing sits deeper in the material, it will only go so far.
A powder trick with baby powder and starch for grease
When grease is the main cause of unattractive discolouration – for instance on handles, kitchen fronts or cooker hoods – a blend of baby powder (or talc) and cornflour can help.
Mixing a simple “powder paste”
- 2 tablespoons baby powder or talc
- 2 tablespoons cornflour
- a little water to make a thick paste
- optional: a squeeze of lemon juice
Combine the powders, then add water a few drops at a time until you have a spreadable paste. If you like, add a little lemon juice – it boosts the fresh feel and has a mild bleaching effect.
How to use the paste
- Clean the area and let it dry.
- Spread the paste evenly, including into small gaps and seams.
- Leave to work for several hours, ideally overnight.
- Wipe away the dried layer with a damp cloth.
- Rinse well so no white residue remains.
"The powder mixture absorbs grease and dirt like a sponge and can noticeably brighten the overall appearance."
On strongly textured surfaces such as vent grilles or ribbed handles, a second round can be worthwhile.
Lemon for freshness, odour and a slight shine
Lemon juice is less effective as a main solution for heavy yellowing, but it works very well as a “finish” once the plastic is already clean.
Possible uses
- apply neat to a cloth and wipe over the surface
- dilute with a little water as a gentle cleaning solution
- combine with a little salt or bicarbonate of soda for a light polishing effect
The juice neutralises odours, loosens light residue and makes surfaces look fresher. On sensitive plastics, it’s safer to use it diluted and not leave it on too long, as too much acidity can make finishes look dull.
How to keep light plastics looking good for longer
If you don’t want the same issue to return a few months after all that effort, it helps to build a few habits into everyday life.
- Give appliances a quick wipe after cooking or frying, before grease layers build up.
- Avoid leaving white plastic parts in direct sunlight for long periods.
- When planning a kitchen, allow distance from particularly hot zones.
- Choose gentle cleaners, microfibre cloths or soft cotton cloths.
- Schedule a quick “freshen-up” clean now and then using a mild product.
"A small, regular amount of care saves radical rescue attempts with strong products."
When you need to be careful
Not every plastic reacts the same way. High-gloss finishes, transparent covers, or parts with printed symbols need extra attention. Aggressive products can ruin logos, markings or display windows.
With sensitive tech such as computers, games consoles or older console housings, protect the internal components or only treat removable parts. Moisture and electronics do not mix well, even if you are cleaning only the outside.
Practical everyday examples
In the kitchen, a combination approach is often best: degrease first with washing-up liquid, then refresh individual switches with toothpaste, and finally wipe down fronts with a little lemon water. In the bathroom and hallway – for example on light switches and socket surrounds – the toothpaste method is usually enough when paired with regular cleaning.
For older appliances such as kettles, toasters or retro stand mixers, hydrogen peroxide can visually take years off. The important thing is to follow the user manual and apply the product only to the plastic casing, not to metal or rubber parts.
If you’re unsure, start with the mildest options: toothpaste, lemon water or the powder paste. If you see improvement, you can avoid stronger chemicals while also being kinder to both the material and the environment.
Comments
No comments yet. Be the first to comment!
Leave a Comment