
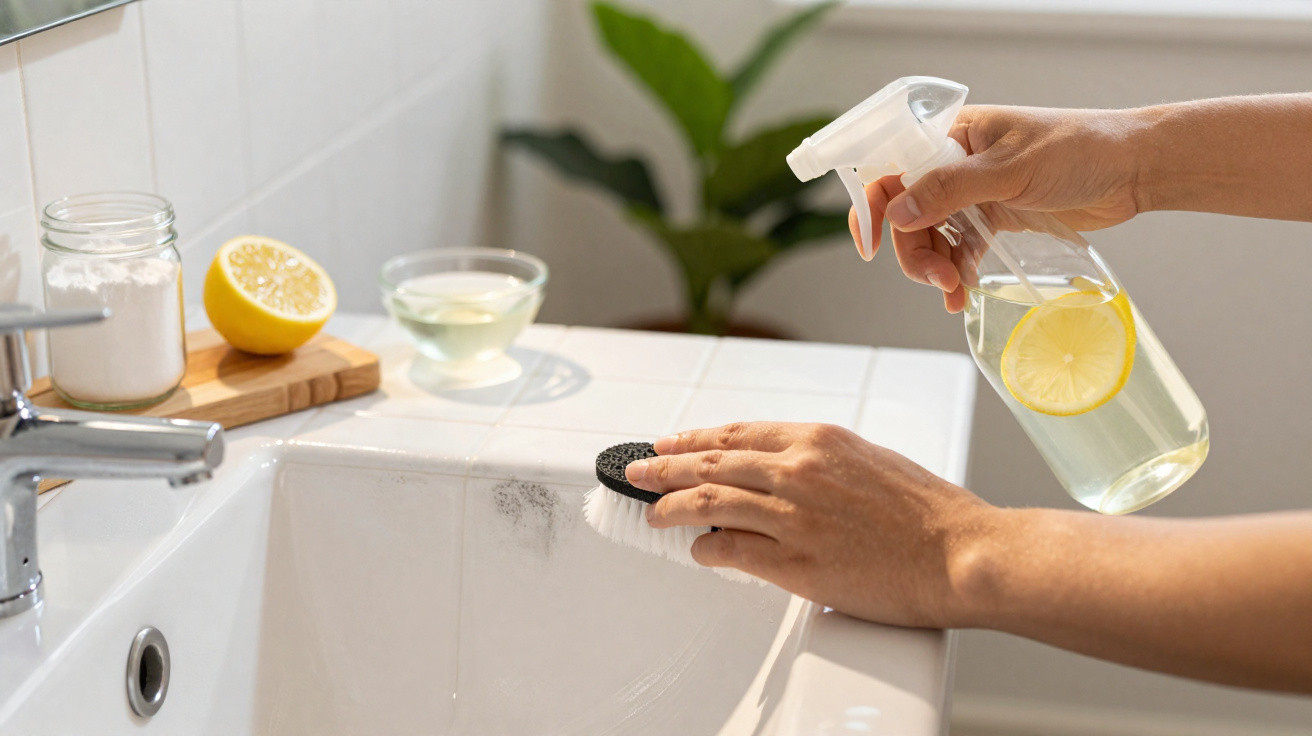
In many bathrooms and utility areas, surface mould shows up on walls, grout lines and the dampest corners, even when you’re keeping on top of cleaning. That’s usually down to a mix of moisture, poor air circulation and leftover soap scum or grease. A straightforward, low-cost option that’s gentler than harsh cleaners is a natural blend that helps keep surface mould at bay and cuts the musty damp smell, making the space more pleasant day to day.
What is the natural mixture that helps remove surface mould?
The most commonly used combination for light mould brings together white vinegar, bicarbonate of soda and, if needed, 10-volume hydrogen peroxide. The vinegar helps break down grease and lingering odours, the bicarbonate of soda boosts the scrubbing action, and the hydrogen peroxide helps lift and lighten darker staining.
This approach is suitable for surface mould on tiles, grout and painted areas where there are no signs of serious water ingress, flaking paint or bubbling. If the marks are very deep, there’s peeling, or the damp seems to be coming through from another wall, it’s best to get a professional in to check for leaks and hidden moisture problems.
- 240 ml white vinegar (spirit or distilled)
- 2 tablespoons bicarbonate of soda
- 120 ml 10-volume hydrogen peroxide (optional, for tougher marks)
- Filtered water to top up a spray bottle to around 500 ml
How do you apply the natural solution to bathroom grout and tiles?
For the best results, the method matters. Start by opening doors and windows, wear gloves if you can, and do a quick pre-clean with a damp cloth and mild washing-up liquid to remove dust, grease and soap residue.
Next, pour the vinegar into the spray bottle, then add the bicarbonate of soda gradually (it will fizz). If you’re using it, add the 10-volume hydrogen peroxide, then top up with water. Spray the grout lines, damp corners and any mouldy spots, leave it to work for about 15 to 20 minutes, then scrub with an old toothbrush or a firm-bristled brush. Finish by rinsing with clean water and drying thoroughly with a cloth or squeegee to slow mould returning.
How do you deal with corners where mould keeps coming back?
Shower corners, skirting near the drain, and the joins between walls tend to hold on to water and don’t get much airflow, so mould can reappear quickly. In these areas, you’ll usually need to treat them more often and be a bit more thorough-especially in damp homes or bathrooms without a window.
A few simple habits help the clean last longer and reduce how quickly the marks return, keeping the room drier and better aired through the week.
- Focus on corners: spray a little more solution and leave it slightly longer than the standard time.
- Use smaller brushes: reach into gaps behind fittings, taps/valves and corner trims.
- Dry after use: run a squeegee over shower walls and wipe corners after bathing.
- Save the hydrogen peroxide: use it only on stubborn marks to avoid wearing down grout.
How often should you repeat the natural clean to prevent mould?
The best schedule depends on your climate, the bathroom’s size and how well it’s ventilated. In small, heavily used bathrooms with no window, doing the full routine weekly or every 10 days is usually enough. Larger, well-ventilated bathrooms often stay in good condition with a more thorough clean every two weeks.
On a day-to-day basis, opening doors and windows after showering, using an extractor fan in windowless bathrooms, and avoiding damp clothes or soaked bath mats on the floor all help keep humidity under control. With these steps alongside the natural mixture, tiles and grout are more likely to stay brighter for longer, without relying so much on strong products and while keeping the room looking consistently clean.




Comments
No comments yet. Be the first to comment!
Leave a Comment