
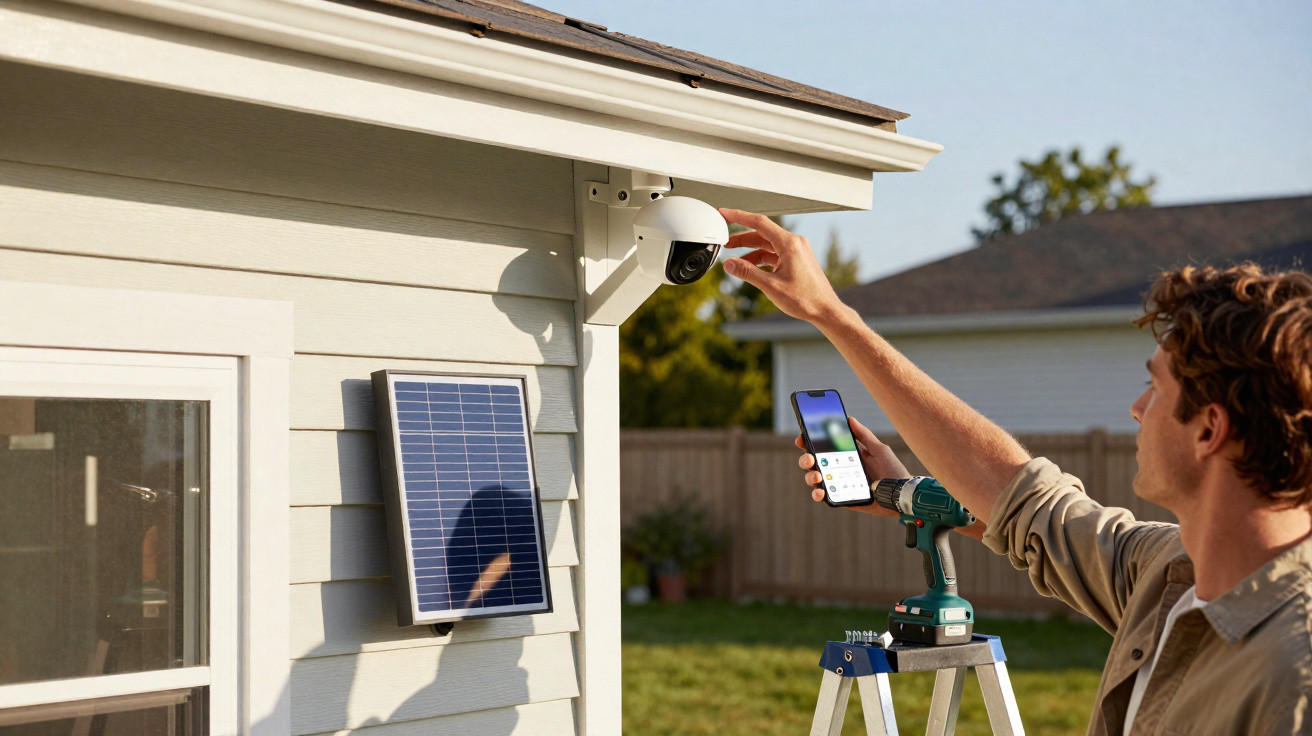
This Reolink security camera connects to an internet router over Wi-Fi, runs on a battery or solar power, saves its footage to a microSD card and works through a comprehensive app that is easy for everyone to use. Here is our full review.
For people living in a house, fitting a surveillance camera to the front of the property can provide extra reassurance, for instance by showing who has rung at the entrance. It can also be useful in a large garden with an outbuilding, garden shed or cultivated area at the far end, where it can help identify incursions by animals that may be more or less troublesome.
Reolink Solar Floodlight at the best price
- Base price: €99
- Amazon: €109 - View offer
There is no shortage of options in this category, with products that vary in sophistication and ease of installation. In this case, setting up Reolink's Solar Floodlight Cam requires virtually no specialist knowledge. It has no wired connection: simply link it to an internet router. Nor does it need a mains supply, as it has an integrated battery and can be powered by solar energy.
Let us look at what the Solar Floodlight Cam offers and whether it is genuinely as straightforward to install as Reolink claims.
Price and availability
On Reolink's website, the Solar Floodlight Cam is currently sold for €99, rather than its usual €110. The manufacturer also offers a two-camera bundle, useful for securing both the front and rear of a home, for €192.49.
Several accessories are available, including an external battery and additional solar panels, should the camera need to be positioned somewhere that does not receive direct sunlight on its own panel.
First impressions
The box contents are particularly comprehensive. Alongside the camera, Reolink includes a mounting bracket with an adjustable ball joint, screws with suitable wall plugs, an installation key, a USB-C cable and a drilling template.
The Solar Floodlight Cam is fairly substantial, and its equipment is notably complete:
- Two adjustable LED floodlight panels
- A fixed solar panel
- A USB-C port for faster battery charging
- A microSD card slot
- A power button
Installing the Reolink Solar Floodlight Cam
For anyone who is not at least somewhat handy with DIY, mounting the camera will probably be the most demanding part of the process. Once the best location has been chosen, only two holes need to be drilled. Naturally, the difficulty will vary according to the surface being drilled into; we mounted it on a wooden beam for this review. The paper template included in the box shows the required spacing between the holes.
These holes are used to attach the first bracket. A second mount is then screwed onto it; this includes a threaded rod and ball joint, allowing the camera to be aimed in any direction.
Installation is completed by screwing the camera onto this second mount and tightening it securely with the small supplied plastic tool.
Naturally, the camera is IP66-rated, so rain is not an issue, as one would expect from an outdoor camera.
In short, it can be mounted in just a few minutes.
The battery should be charged beforehand. With a 7800 mAh capacity, it provides up to three months of battery life, according to the manufacturer. Reolink also says that one hour of sunshine reaching the solar panel is enough to provide 24 hours of operation.
One small disappointment is that the solar panel would ideally have been fitted to a ball joint too, allowing it to be positioned for maximum exposure. In our case, a gutter directly above the point where the camera was mounted prevented sunlight from reaching the solar panel directly.
This did not prove especially troublesome, however. After a week of use, the charge level shown in the app had not dropped.
It is also worth ensuring that the panel does not become too dirty. Wiping it with a cloth from time to time will help it retain optimum efficiency.
Configuration begins, of course, by switching on the camera. Hold down the power button for a few seconds and it emits a beep.
After downloading and opening the app, available on PC, Mac, Android and iOS, simply follow the installation process step by step. It is especially easy and takes very little time. A French voice prompt, audible signals and the colour of the status light indicate whether the initial setup is progressing correctly.
During the first installation, the QR code on the back of the camera must be scanned so that the app can identify it.
When first connecting to the router over Wi-Fi 6, on either 2.4 GHz or 5 GHz, the network password must of course be entered. Afterwards, if the camera is to be controlled or its recorded footage viewed on another device, pairing is automatic because it is already connected to the router.
App and recording quality
As noted above, the Solar Floodlight Cam needs no cables, either for power or network connectivity. There is also no subscription requirement for storing captured photos and videos, as everything is saved directly to the microSD card.
Reolink's software is both comprehensive and very easy to operate. It displays the camera's live view and allows manual zooming, photo capture, video recording and even two-way conversations with someone within the camera's field of view.
It has a 150-degree field of view, while footage is recorded in QHD at 2560 x 1440 pixels and up to 15 frames per second.
The package also includes a 110 dB siren, which can be activated at any time, as can the LED floodlights.
At night, the light and siren can be set to trigger automatically whenever motion is detected. This should be used sparingly, since neighbours may not appreciate repeated night-time activations.
In our tests, night vision was convincing. By default, the Solar Floodlight Cam records in black and white after dark. However, when its IR sensor identifies a presence, at distances of up to 10 metres, the floodlights activate and recording switches to colour.
The two LED floodlights provide 1000 lumens of brightness. Their colour temperature can also be adjusted from 3000 K, for warm yellowish light, to 6000 K, for cooler bluish light.
Although the captured video clips are of a reasonably good standard, we did notice one minor issue. Because the floodlights are very powerful, a filmed person's face is often overexposed with the default setting, making identification impossible when they stand too close to the camera. The answer is to adjust LED brightness in the app.
The manufacturer also highlights its use of artificial intelligence - it really is everywhere - to distinguish a person from a cat or dog. In the latter case, the camera is supposedly not meant to send alerts. In practice, our little ginger cat wandering back and forth in front of the camera was correctly identified, but still triggered an alert and video recording.
The app also includes an option intended to reduce the number of false alerts sent by email and notifications, by adjusting motion-detector sensitivity. This can be useful: branches from a shrub moving in the wind were enough to generate numerous alerts in our testing.
To address this, exclusion zones can also be set. A person or animal detected within one of these areas will not trigger an alert. The only drawback is that, while the feature worked when configuring detection for an animal, vehicle or person - simply draw the area on screen with a finger - it did not work for “other” objects such as a shrub, which is a shame.
Finally, the Reolink Solar Floodlight Cam is compatible with Google Assistant and Alexa. We were therefore able to link the camera to our Amazon Echo device. The very simple process merely involves entering Amazon login details and password. Echo can then be asked to display the live camera feed: “Alexa, show the camera image”. The Alexa-compatible device also plays audio picked up by the camera's microphone. For example, the LEDs can also be switched on.
Our verdict on the Reolink Solar Floodlight Cam
Despite its somewhat bulky format, this camera is an exceptionally quick surveillance solution to install, requiring only two drilled holes. Connecting it to the router and completing setup also take only minutes, thanks to the well-designed Reolink app, which remains easy to use even for “non-geeks”.
Unless there is a very, very long eclipse, there is no real concern about power. Its internal battery is continuously recharged by the large solar panel. If we wanted to be picky, the panel could be adjustable like the LED floodlights, while the floodlights themselves could remain fixed.
Storage is equally uncomplicated, as everything is recorded to a microSD memory card. Recorded video quality is satisfactory too, with people and animals captured on camera generally easy to recognise.
Ultimately, a great many settings can be adjusted to tailor camera management precisely. It simply takes a little time to fine-tune certain options, such as sensitivity, so that unnecessary alerts do not become overwhelming.
Reolink Solar Floodlight at the best price
- Base price: €99
- Amazon: €109 - View offer
Reolink Solar Floodlight Cam
€94.99
Overall score: 9
| Category | Score |
|---|---|
| Installation | 9.0/10 |
| Ease of use (app) | 9.0/10 |
| Battery life | 10.0/10 |
| Recording quality | 8.0/10 |
What we like
- Large solar panel
- Two powerful, adjustable LED floodlight panels
- Effective speaker and microphone
- Colour recording at night
- Siren powerful enough to deter intruders
What we like less
- Slightly bulky
- Non-adjustable solar panel
Buy the Reolink Solar Floodlight Cam



Comments
No comments yet. Be the first to comment!
Leave a Comment